
How to Make Cyanotype Sun Prints
Learn how to make cyanotype sun prints with this easy tutorial. It only takes a short time and the results are stunning.
How to Make Cyanotype Sun Prints
Today I’m going to show you how to make some gorgeous cyanotype sun prints using items from nature and the power of the sun! It’s all part of this month’s Thrifty Style Team challenge, hosted by my friend Julie at Redhead Can Decorate, and you can see all of this month’s creative projects at the bottom of this post.
Each month we share ideas for using thrifted, gifted, free, or budget-friendly items to decorate your home with. The creativity of this group always blows me away!
This post contains affiliate links for your convenience. I may make a small commission on products purchased with my link, but your price does not change. For full disclosure go here: Disclosure and Policies. Thank you for supporting my site.
How to Make Cyanotype Sun Prints
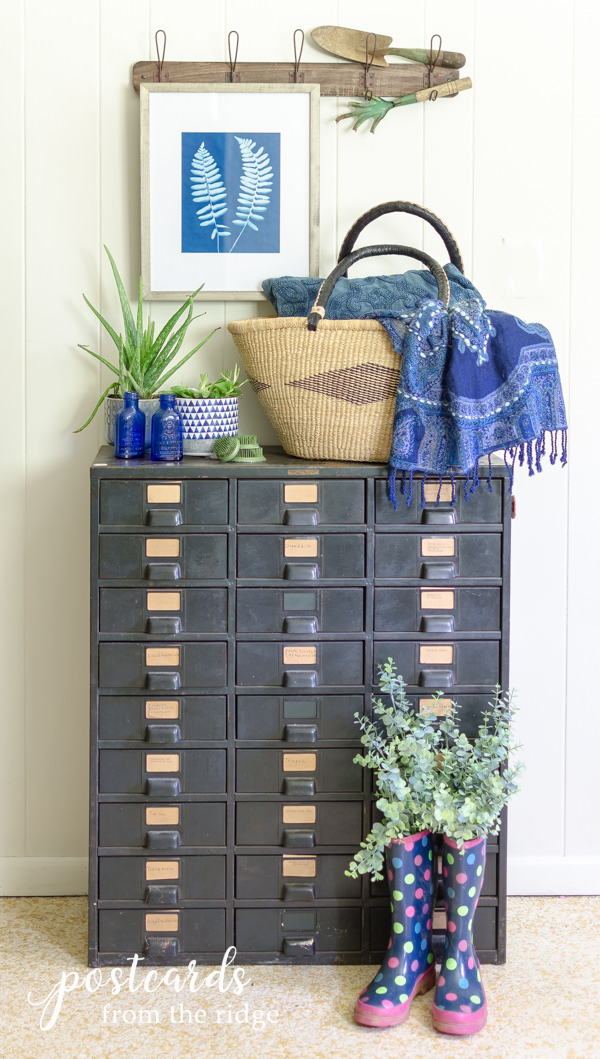
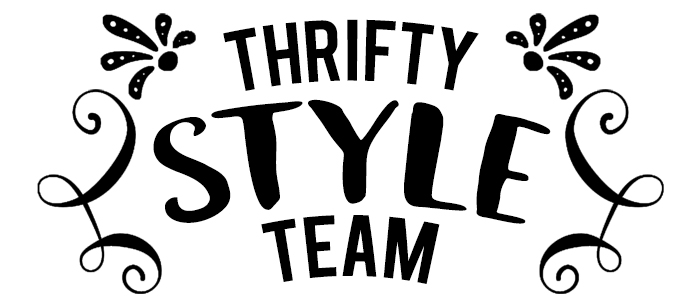
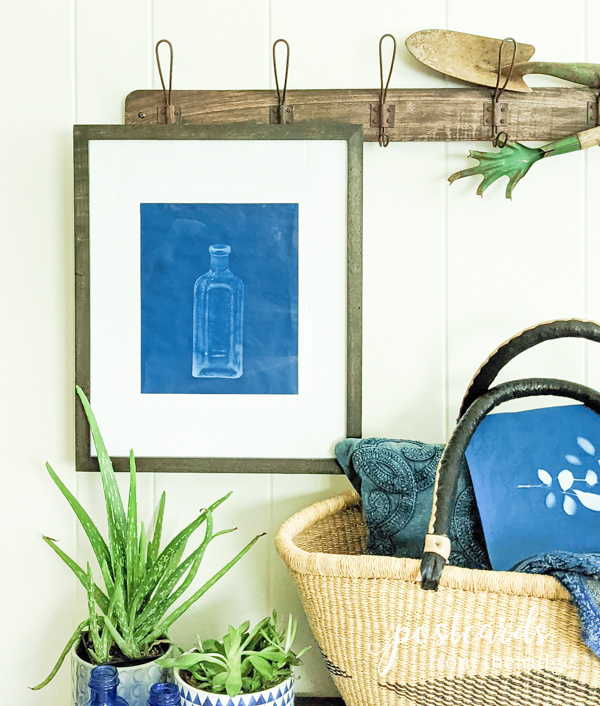
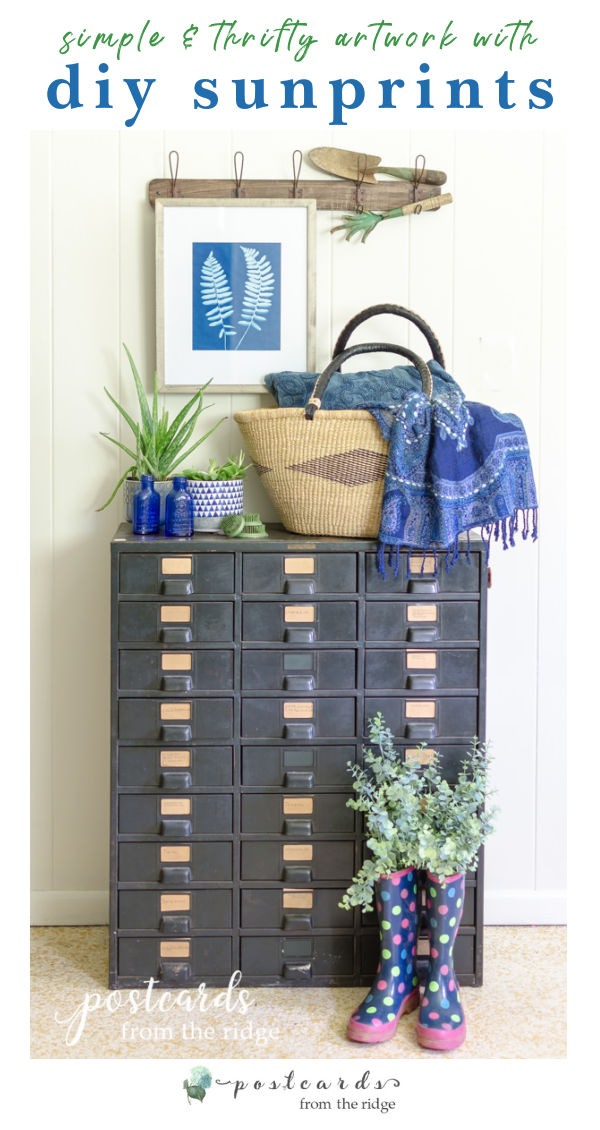
I enjoy creating art for my home, especially if it’s budget-friendly and looks like it’s from a designer shop. I’ve been seriously crushing on blue and white recently (see my recently updated living room here → New Blue and White Living Room) and love the way these incorporate those colors into my decor. Plus I adore the organic look of them.

This is a really simple project and is something you could easily do with your kids or grandchildren. Simple art is the best kind for me, lol. You can see some of my past simple DIY art creations here → 13 Thrifty DIY Art & Decor Ideas

About this DIY Cyanotype Sun Print Project
- A special cyanotype paper is required. NOTE – you can also use this cyanotype kit and make this project on fabric.
- It changes color when exposed to the sunlight. Hence the name “sun prints”.
- The shapes are created by blocking the sun on the areas covered.
- The covered areas remain white and the areas exposed to the sun will turn blue after rinsing the paper with water. Pretty cool, huh?
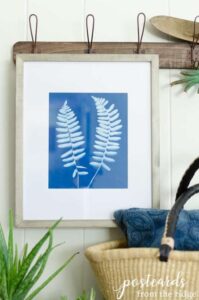
- Flat items like leaves give sharper edges, while items that are more dimensional have a softer abstract look when used on the paper.
- And the best part? It’s only $1.53 per sheet!! I used this kit with the necessary sheet of glass included → sun print paper kit
Ideas for Cyanotype Sun Print Designs
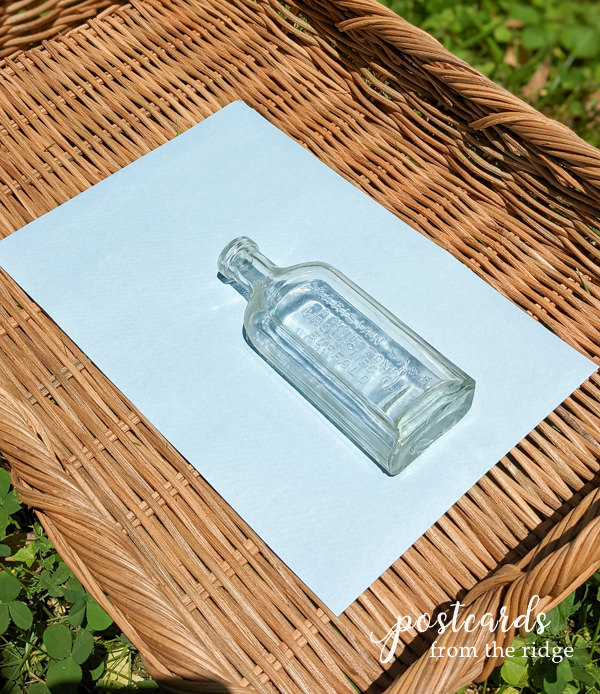
I played around with several different items including a vintage bottle. Here are just a few items that would make interesting art with this sun print paper.
- Bottles
- Leaves
- Butterflies and insects
- Seashells
- Lace
- Stencils
- Scissors and other tools
- Kitchen gadgets
I can’t wait to try some of these other items in the near future.
Here’s the full printable tutorial for this fun sun print project.

How to Make Sun Prints
Equipment
- No tools needed!
Supplies
- Sun Print Kit
- Leaves flowers, or other object to create reverse shadows
- Water
- Picture Frame
Instructions
- Select the items with interesting shapes to create your art. It can be leaves, flowers, or anything you like. Decide how you want to lay it out on the paper.

- In a room with the very low lighting, gently remove one sheet of the sunprint paper from the package, being careful not to expose any of the other sheets. If the paper is exposed the project won’t work.
- Place the paper on a flat tray or piece of cardboard and then lay your selected object on top of it, following the manufacturers instructions for which side to face upwards.
- Place the piece of glass over both of them, and then cover all of it with another piece of regular paper or poster board to minimize exposure until you’re ready to expose it to full sun.
- Carry the items outside into full sunlight and remove the top sheet of paper covering the glass, exposing the sunprint paper and your objects to the sunlight. Leave the glass in place as it will hold everything still while the sun does its magic.

- Leave in the direct sunlight for 2 – 5 minutes. The paper that is exposed to the sun will turn white. Do not overexpose.

- Re-cover the paper and bring it inside. Remove your objects. (leaves in this case) The paper will be light blue where your object was blocking the sun from the paper, like the photo below.

- Remove the paper from your tray and rinse in water for a couple of minutes.
- Lay flat to dry. It will darken as it dries.

- Hang in a frame or with a hanging magnetic poster frame..


Notes
-
- Items that lay flat produce the sharpest prints.
- Items that are more dimensional will produce prints that are softer and a bit more abstract.
- This process works best on bright, sunny days with no clouds.
- You can also use this cyanotype kit on fabric.
More Budget-Friendly Home Decorating Ideas
- Patriotic Tablescape with Vintage Thrift Store Dishes
- Simple Spring Mantel with Milk Glass Vases and Daffodils
- Paper Heart Wall Art
- Creative Ideas for Using Thrifty and Vintage Items for Christmas
Decor - Fall Tablescape with thrifted, gifted, and foraged finds
- How to Make Pedestals from Thrifted Candesticks and Tart Pans
- How to Clean and care for Vintage Wooden Utensils
- Solar-Powered Sea Glass Mason Jar Lanterns
- Tiered Tray Decor Ideas with Thrifty and Vintage Finds
- How to Make Flowers from Paper Egg Cartons
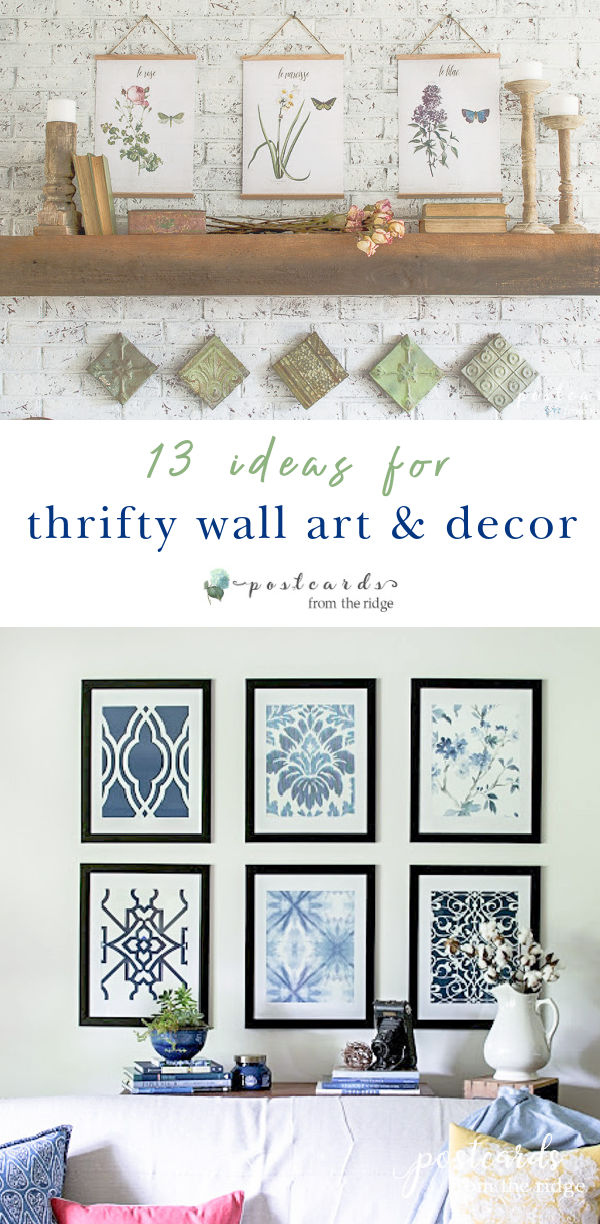
- 13 Ideas for Thrifty Wall Art
- DIY Wooden Toolbox Mail Organizer
- Champagne Bucket Christmas Tree Stand
- DIY Wine Bottle Luminaries
Here are all of this month’s projects for the Thrifty Style Team!
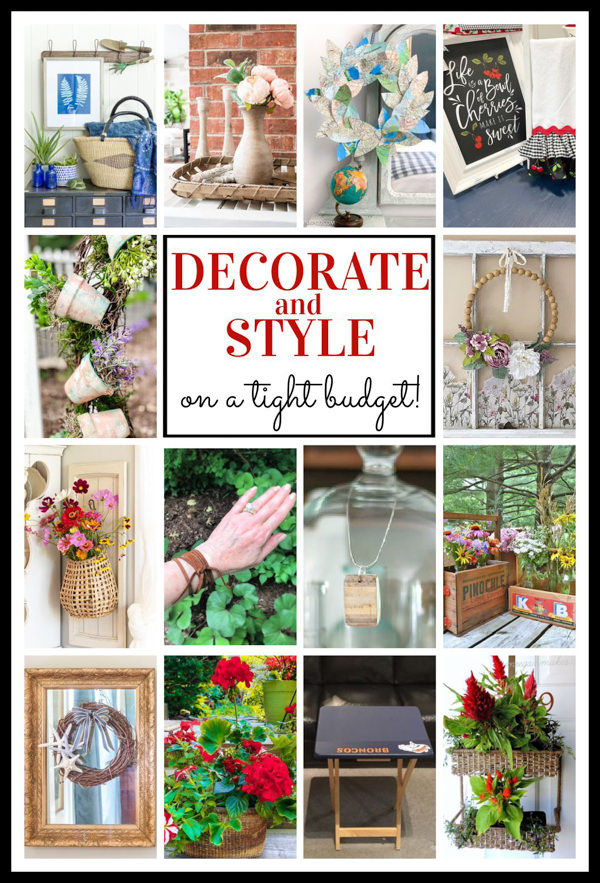
Click the links below to read about each idea:
Redhead Can Decorate – How to Create & Style a Sexy Rustic Suede Bracelet
DIY Beautify – How to Get That Restoration Hardware Finish with Paint
2 Bees In A Pod – Vacation Memory Map Wreath
The How To Home – Easy and Quick Upcycled Garden Planters to Make in Minutes
Vinyet Etc. – DIY – Wooden Pendant From Thrifted Tennis Racket
Sweet Pea – Antique Mirror Makeover
What Meegan Makes – How To Make a Flower Basket from a Spice Rack
Cottage At The Crossroads – No Sew Ruffled Tea Towel
Postcards From The Ridge – Designer DIY Wall Art with Sunprints
Lora B. Create & Ponder – Repurposed Old Wood Create Tote Caddy DIY
Our Crafty Mom – Cottage Core Old Window Wall Decor
Chas’ Crazy Creations – Easy DIY Chalkboard TV Tray
Cottage On Bunker Hill – DIY Mini Flower Pot Wreath
See even more ideas for budget-friendly wall art here:
13 Ideas for thrifty wall art and decor
hi, I tried this for a senior center project, but parts of the paper turned purple. do you know what would cause this?
Maybe some parts were exposed to the sun at different amounts? I’m not completely sure as I haven’t experienced this. I’m so sorry! You might check with the manufacturer and see if they have any tips.
I LOVE botanical prints. These are just what I need for my guest bathroom. So pretty, Angie!
I can't wait to try this for Fall, Angie! This tutorial is EXCELLENT!
Oooooh, I am going to do this!! It is such a cool idea for wall art!!
Oh my gosh what a great idea, and I love how it turned out. Thank you so much for sharing and wonderful hopping with you!
Well this is just darling!!!! I love the botanical, but you know the vintage bottle print has stolen my heart! What a wonderful project, I'll have to hunt for some of that magical paper locally!
Angie – you have blown our minds! We had no idea how to do this project. Your sun prints are beautiful.Thanks for sharing how to create them.
Thank you! I saw it on pinterest and had to try it for myself!
This is an awesome idea! I love the blue!
Thanks, Michelle! I'm really crushing on blue these days!
This is the best idea! I love the art that you created.
Thanks, Paula! It's a really fun and simple project!
I've seen this but never had any idea how to do it! Thank you for the wonderful tutorial and beautiful inspiration!
You're welcome! Let me know if you try it.
I love these! Fun, easy and such a great idea!
Thank you, Cindy! Easy is my favorite kind of project!
What a great idea for custom art! I love the graphic look of the leaves!
Thanks, Cindy! It's a great way to make some unique and inexpensive art!