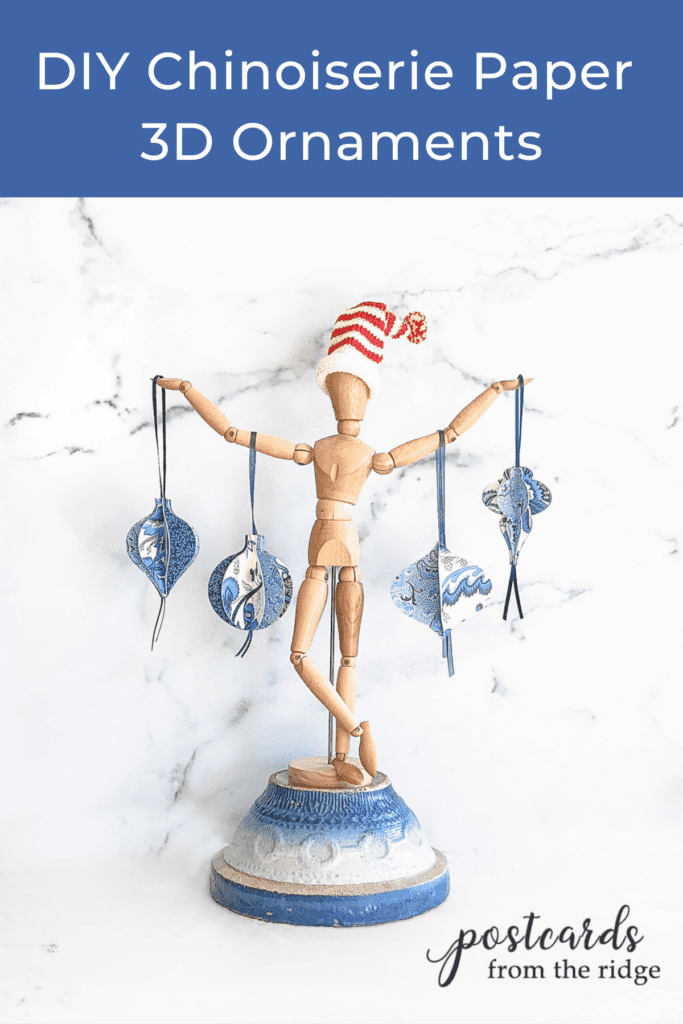
DIY 3D Paper Chinoiserie Ornaments with Cricut
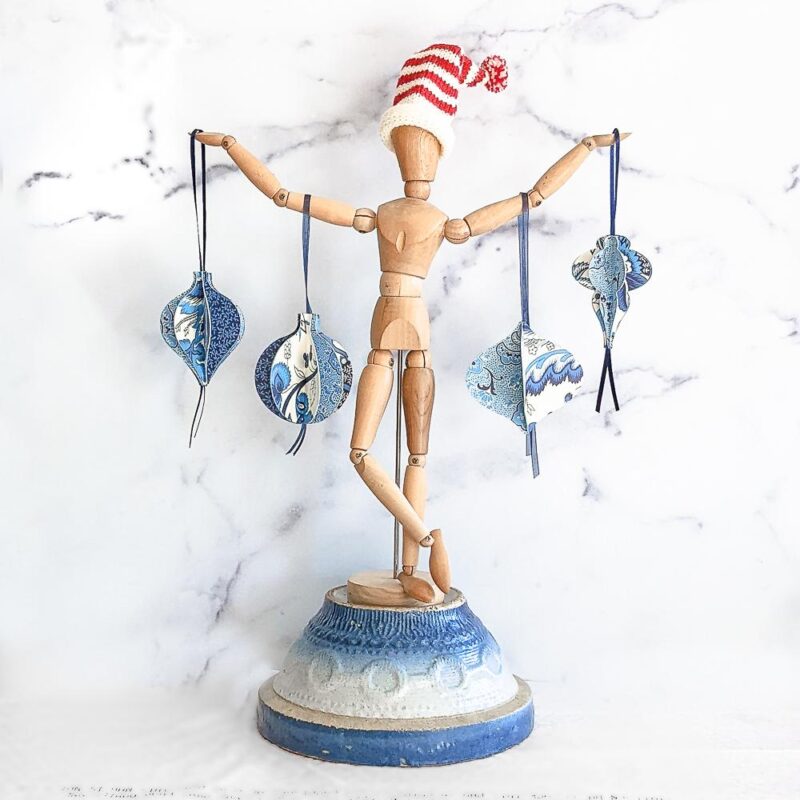
If you love blue and white chinoiserie, paper crafts, and Christmas then you’ll adore today’s project. I’m sharing a tutorial for these DIY 3D chinoiserie paper ornaments and they’re much easier to make than they look!

DIY 3D paper chinoiserie ornaments
Some days I’m super productive and organized and get most things crossed off my list. Other days not so much. And that means that sometimes it takes me a while to post about the projects I’ve done around here.
One of those projects is these 3D paper chinoiserie ornaments. I actually made them last year (don’t judge) and am just now getting around to writing about them. Better late than never, right?
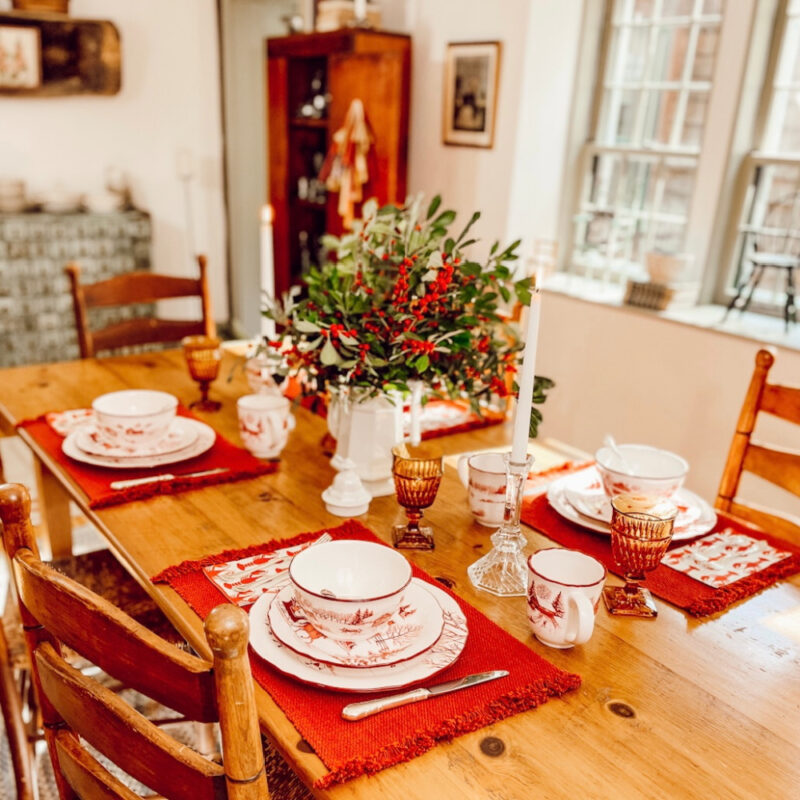
Anyway…we’re all doing our best each day. And I’m happy to be sharing this tutorial as part of this month’s “Celebrate the Holiday” tour hosted by my friend Carol at Blue Sky at Home.

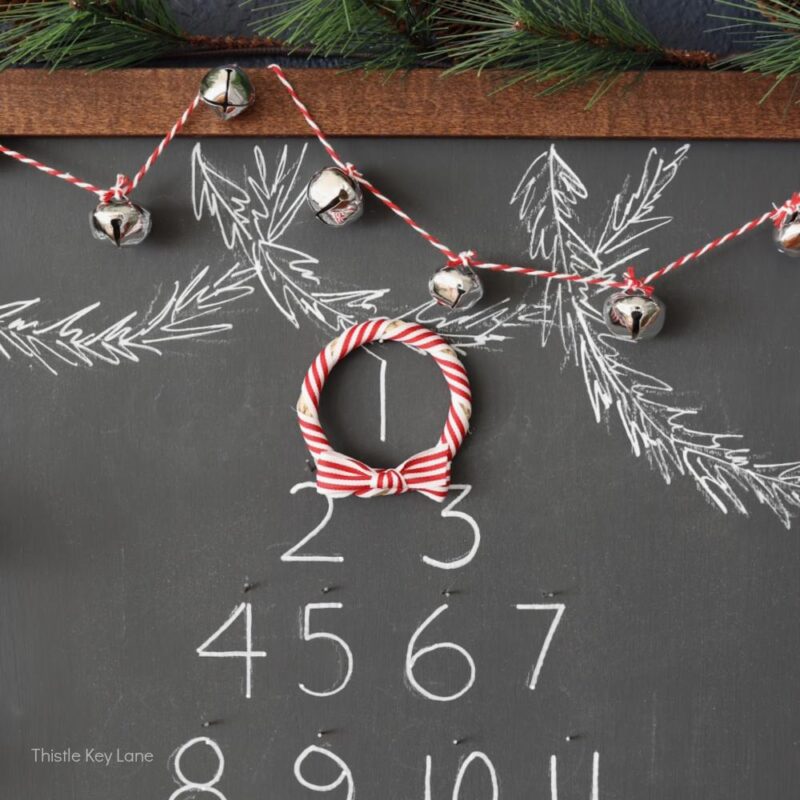
Each month a group of home bloggers features projects, recipes, decorating ideas, and just about anything related to a chosen holiday. We’re focusing on Christmas this month so you can get a head start on your planning! Here’s a preview of this month’s posts, and you can visit them all by clicking the links at the bottom of this post:

If you’re coming over from Southern Home and Hospitality, welcome! Doesn’t Kate have some wonderful no hassle decorating ideas?
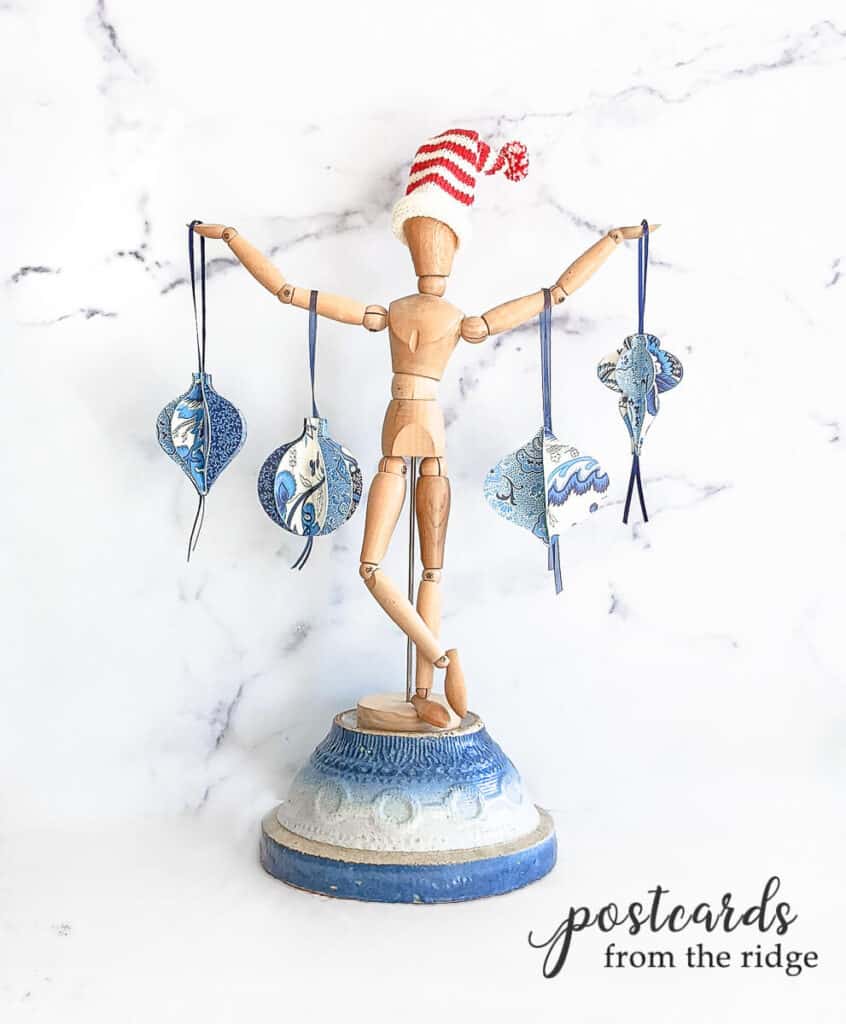
You might have caught a glimpse of these ornament last summer when they made an appearance in my post about how to make everyday items look patriotic.

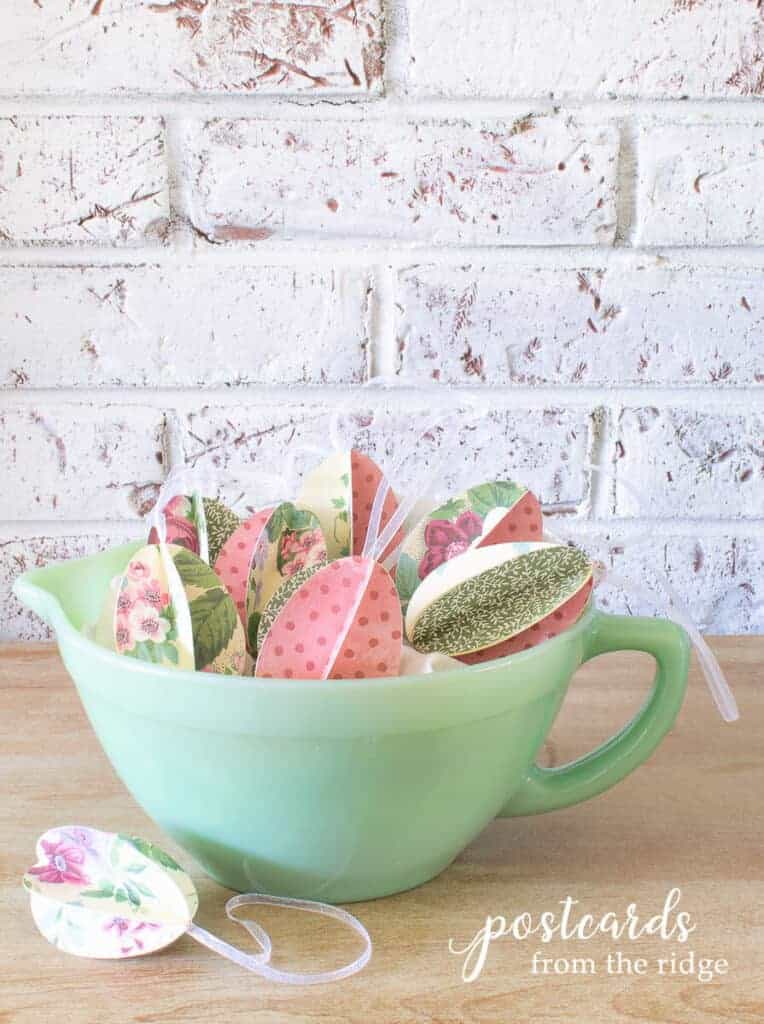
And the 3D paper eggs tutorial I shared last spring are basically the same, just in a different shape and color.
But these were intended to be Christmas ornaments and it’s a fairly simple project, so now’s the perfect time to share the tutorial.
This post contains affiliate links for your convenience. I may make a small commission on products purchased with my link, but your price does not change. For full disclosure go here: Disclosure and Policies. Thank you for supporting my site.
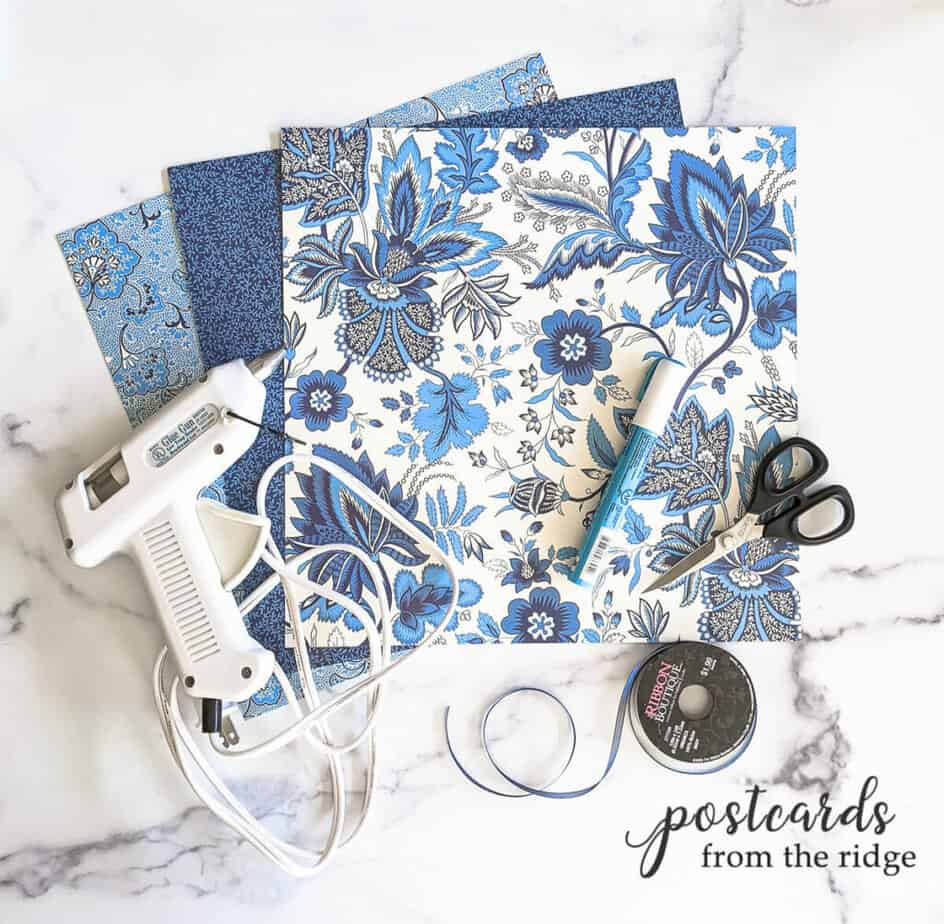
Supplies Needed
I used my Cricut Maker to cut the shapes, but I found some large paper punches in a variety of shapes that you could use if you don’t have a cutting machine.
I have a curated supply list here: Supplies needed for DIY chinoiserie 3D paper ornaments. Or you can click on any link in the following list:
- Cricut Maker or Explore Air, or paper punches
- Standard Grip Mat
- Cardstock (the ones I used are discontinued but these are similar: blue and white cardstock, and here are some digital ones that you can print: Blue and white digital scrapbook paper)
- Glue Pen
- Ribbon
- Scissors
- Glue gun (optional)
DIY Cricut 3D paper ornaments
1. Choose your shapes
Log in to Cricut Design Space and begin a new project. You’ll need to go into “images” and do a search for “ornaments”. Add the ones you like to you project.
For a more detailed tutorial on selecting shapes and using Design Space, visit this tutorial: How to make a felt Christmas wreath with a Cricut
2. Cut your ornament shapes
Cut the ornament shapes from your cardstock. The amount of cardstock you’ll need will vary depending on how many shapes you use and how many ornaments you make.
I used 5 shapes and 3 different types of cardstock. And I made each ornament with a mix of all three prints.
The ornaments look best with about 7 layers glued together. So multiply the number of each shape that you want to make times 7.
For example, if you want 3 arabesque shaped ornaments then you’ll need 21 cutouts of that shape.

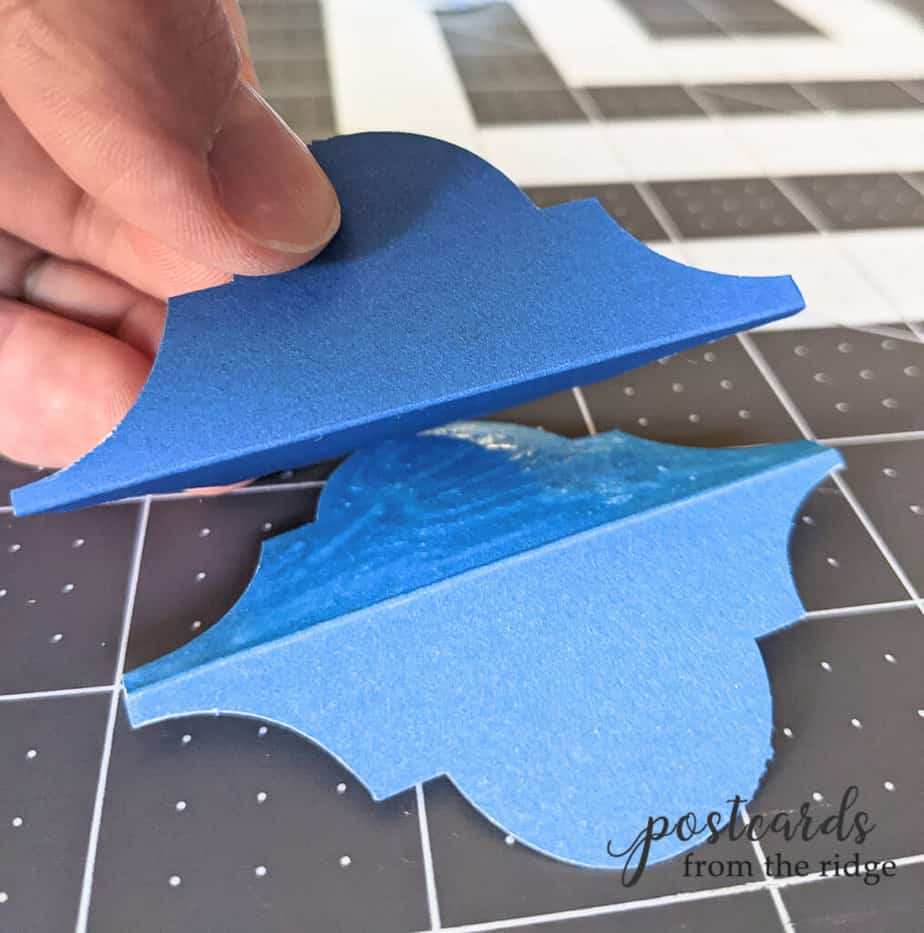
3. Fold each cutout in half
If using a Cricut, you can crease the paper with a scoring stylus or wheel. Or if you’re not using a Cricut, you can carefully fold them in half lengthwise and then press and use a paper creaser.
You can also use this paper scoring tool for a crisp fold.
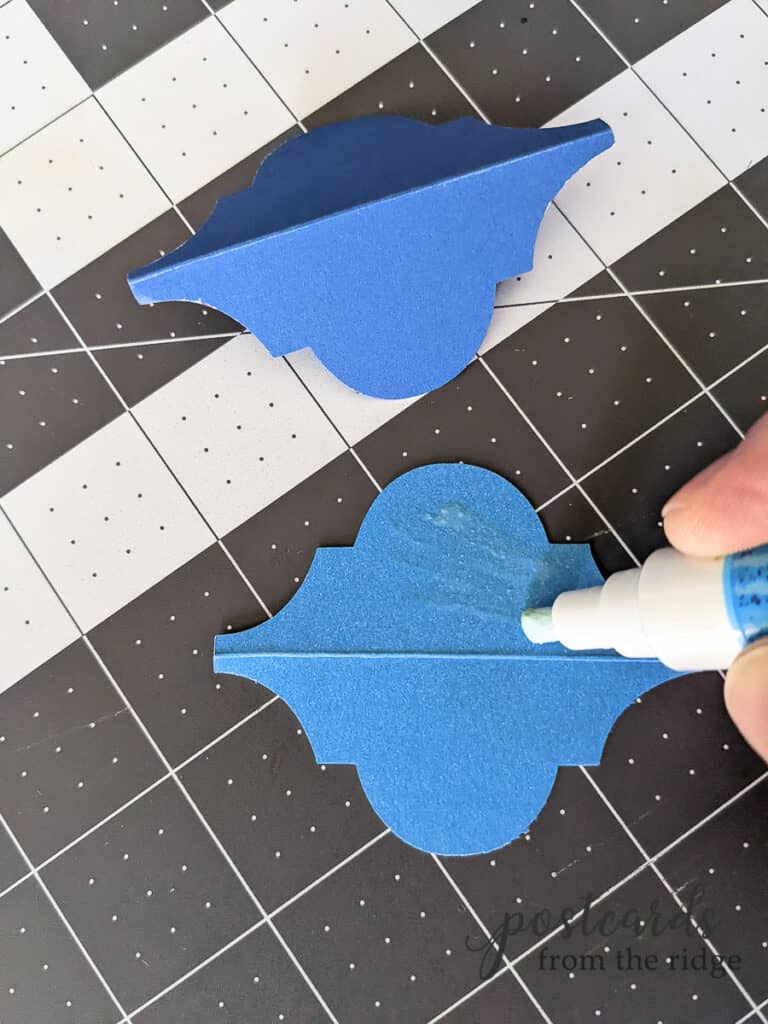
4. Glue the cutouts together
Using a glue pen, carefully attach the cutout pieces together. Make sure to line up the edges as you go. Once the glue is set you won’t be able to adjust them.
Continue attaching them together, but don’t glue the last pieces together just yet.
5. Attach your ribbon
Before you glue the last pieces together, insert your ribbon into the middle of the folds. A small ribbon works best since it’s a very small space. You can use a glue gun or glue pen.
I cut my ribbon to 15 – 16″ lengths.
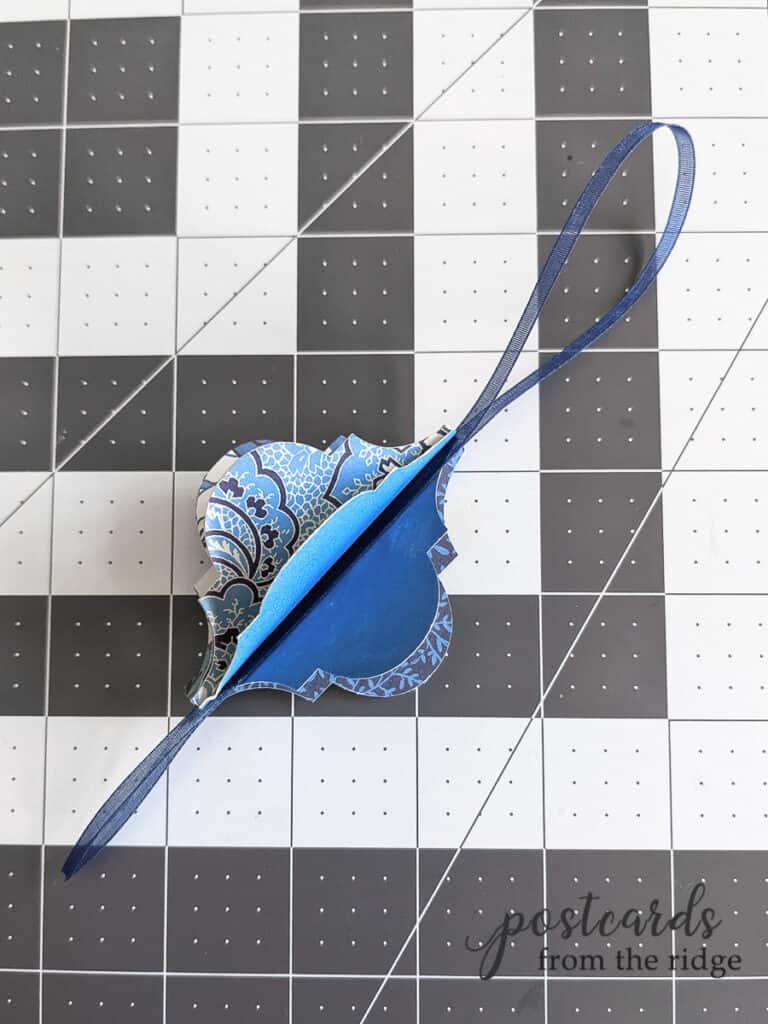
6. Glue final pieces
After you add the ribbon you’ll need to glue the final edges together. Repeat for each ornament until you’re done.
You can get creative and add a bead to the bottom or top edge of the paper. Or you can keep it simple like I did with mine.
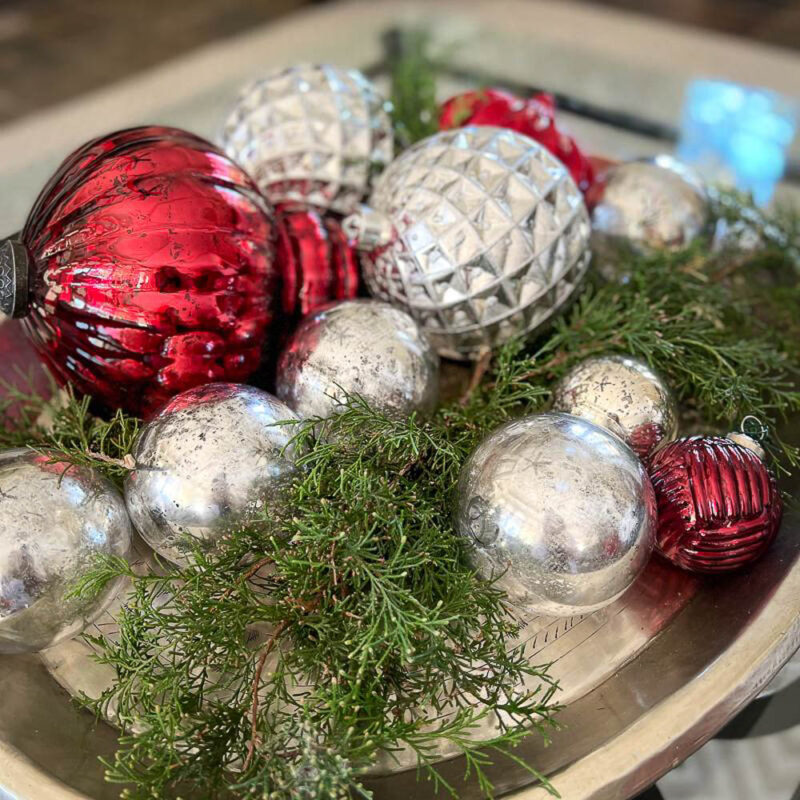
These are so fun to make and you could give them as gifts, use them as gift tags, display them in bowls, and definitely add them to your tree!
Let me know if you make them and how they turn out!
Pin this for future reference:
More paper craft projects
If you enjoy paper crafts be sure to check out these projects:
More Blue and White DIY Projects
My oldest daughter and I made these teacup candles and they make great gifts. Read the tutorial here: How to make your own candles

Here’s a budget-friendly designer art project. These are so fun and easy to make and you can learn how here: DIY Sun Prints
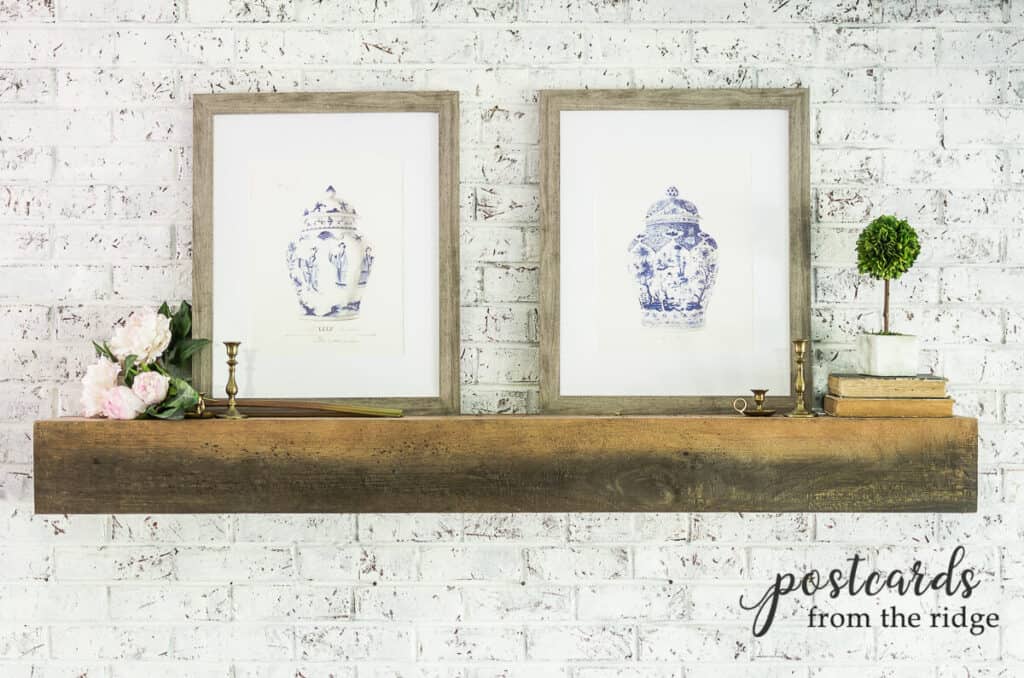
These antique blue and white chinoiserie printables are free for all of my newsletter subscribers. You can sign up and grab them here: Free Printable chinoiserie wall art
More Christmas Ideas
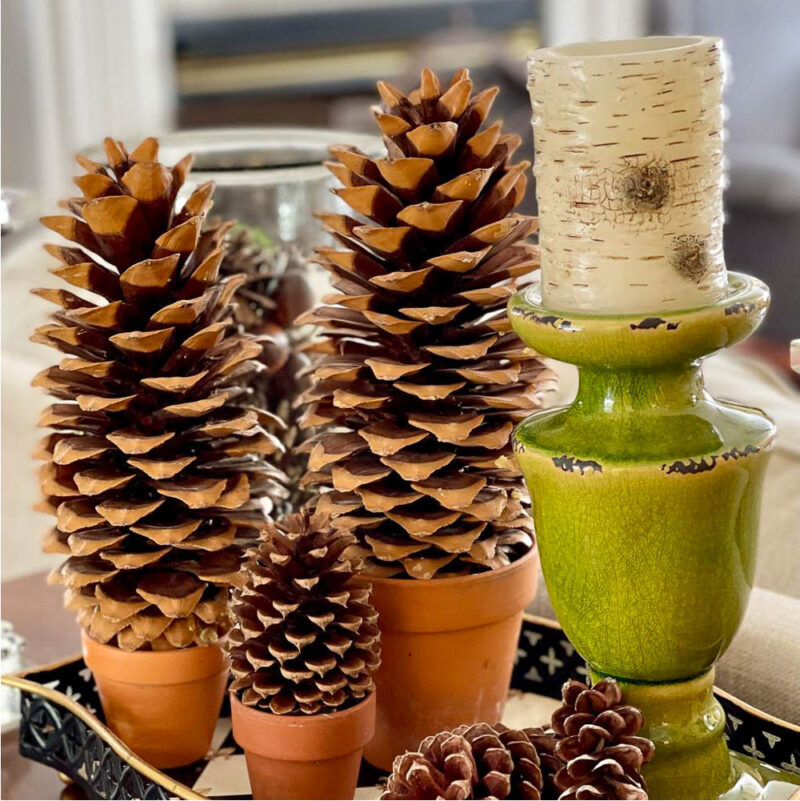
Here are all of this month’s projects and tips for getting your home ready for Christmas. Head over to see Leslie at Feet Under My Table and her easy DIY Pinecone Christmas trees. Such a fun project!


Angie, I knew I would love this Christmas project when I first saw it. I love anything chinoiserie and I’m always looking for new projects to use my
Cricut. You gave great instructions and resources. Thank you so much for sharing on the Celebrate the holiday blog hop.
I just love these ornaments! I’m doing a blue and white tree this year and I’m having a hard time finding ornaments that don’t cost a fortune. It’s time to start cutting and gluing at this small house.
These are SOOO adorable! Who knew you could use the cricut to make ornaments? Thanks so much for the inspiration! Love it!
Now I need a cricket. Oh my gosh these are absolutely adorable. I would buy these and create an entire Christmas tree with them😂💙💙
Angie, these are beautiful ornaments. They would make wonderful gifts too.
What a fabulous idea, Angie!! Your ornaments are gorgeous, and I love the papers you chose. I’m going to have to give this a try this year. Thanks so much for the idea!
I really need to get a Cricut, but I’m afraid I would never get any thing else done. Your Chinoiserie ornaments are just beautiful and I love the mix of blue patterns! Thank you for the inspiration, and the reminder I need a Cricut! LOL!
Angie I LOVE the chinoiserie cardstock you chose – these are so cute and look like something any of us “non-crafty” crafters could easily make!!
How pretty!! You chose gorgeous paper to use for these ornaments! Thanks so much for linking up today at the Home Imagined party!
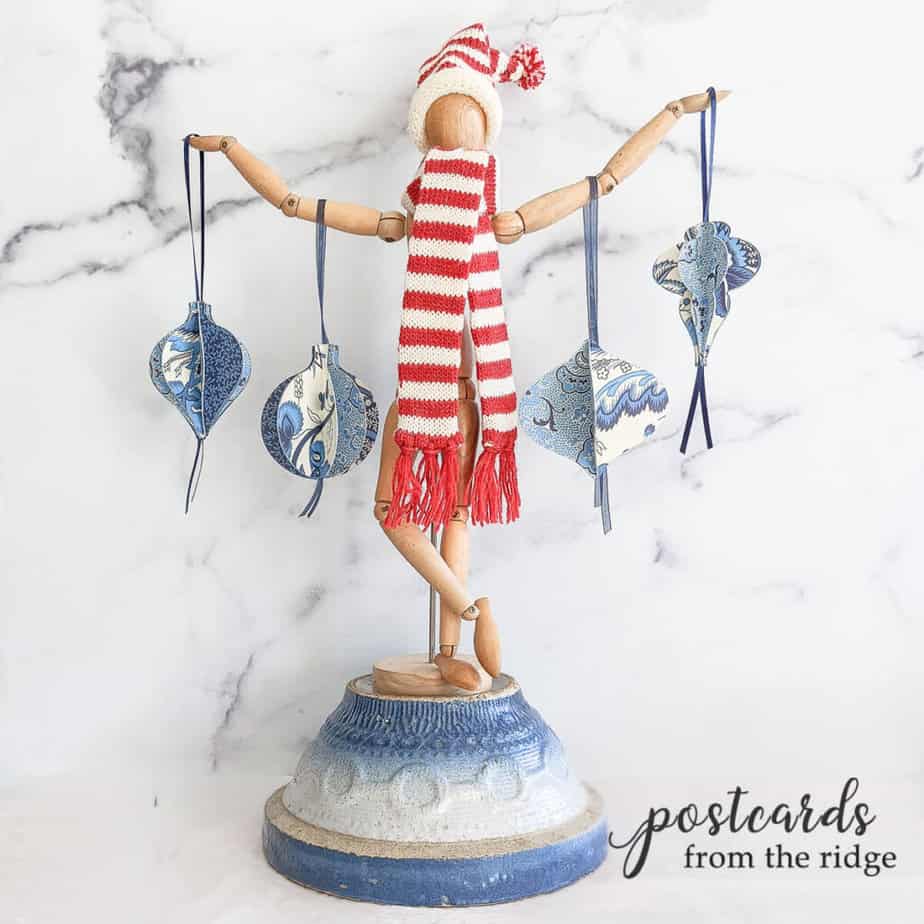
First – I LOVE paper crafts. I also love making items with old paper. These paper ornaments are perfect for Christmas and I love how you displayed them on the moveable figure. Thank you for sharing this link in the Home Imagined Link Party.