How to Hang Wallpaper and Add Instant Personality
Learn how to hang wallpaper and give your room instant personality.
This post contains affiliate links for your convenience. I may make a small commission on products purchased with my link, but your price does not change. For full disclosure go here: Disclosure and Policies. Thank you for supporting my site.
How to Hang Wallpaper
The thought of hanging wallpaper can be a bit intimidating but it can definitely be a DIY project. With the right tools, you can do it if you take your time and bring a big dose of patience.
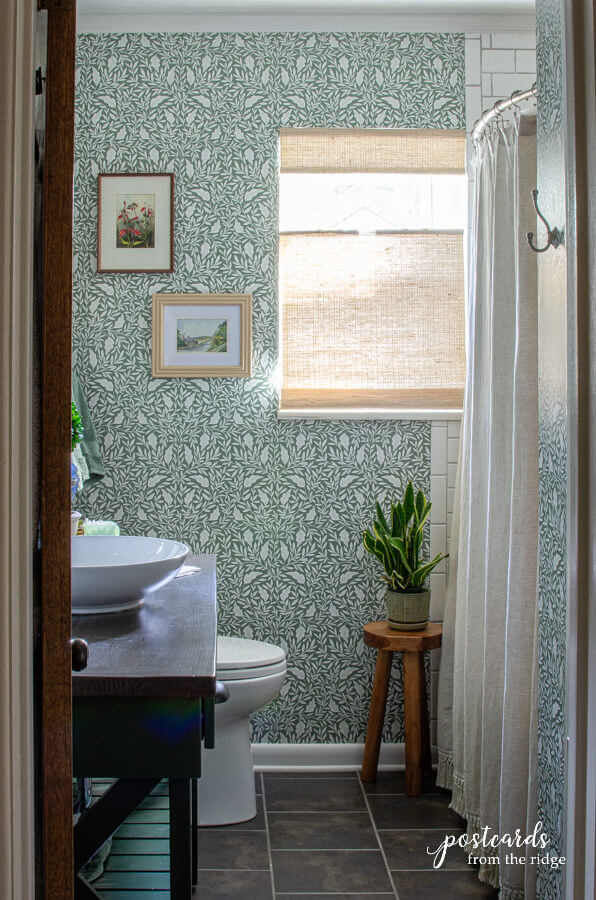
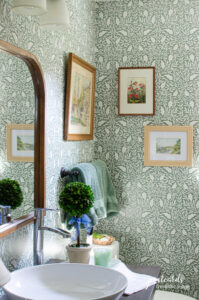
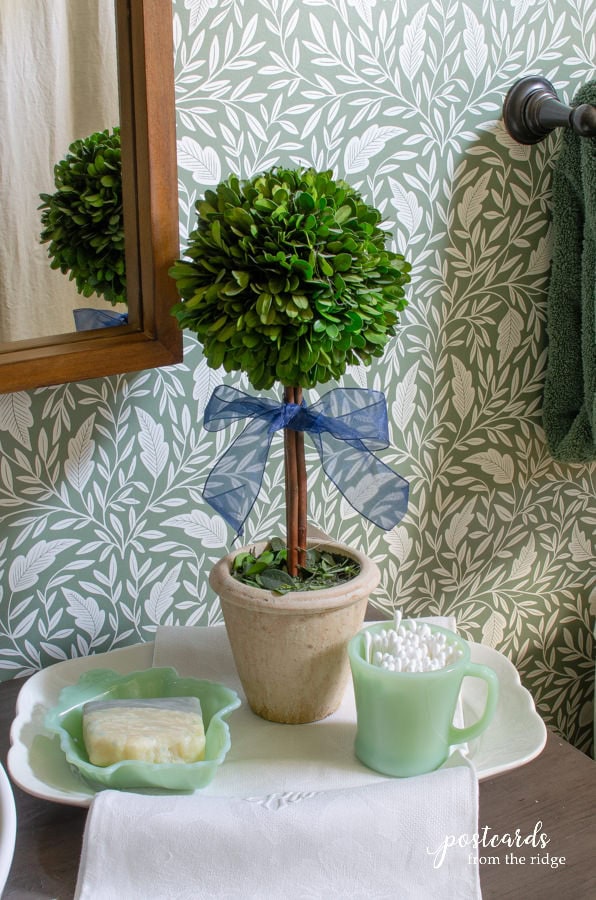
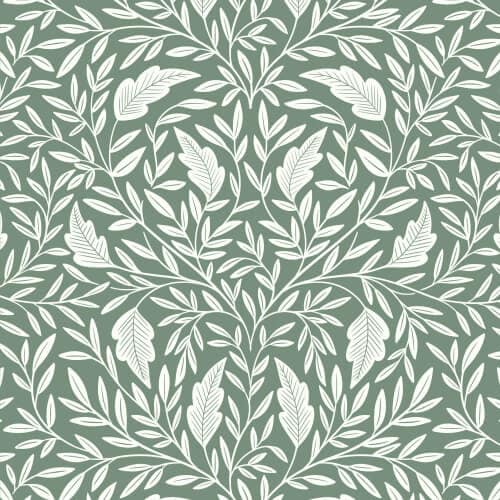
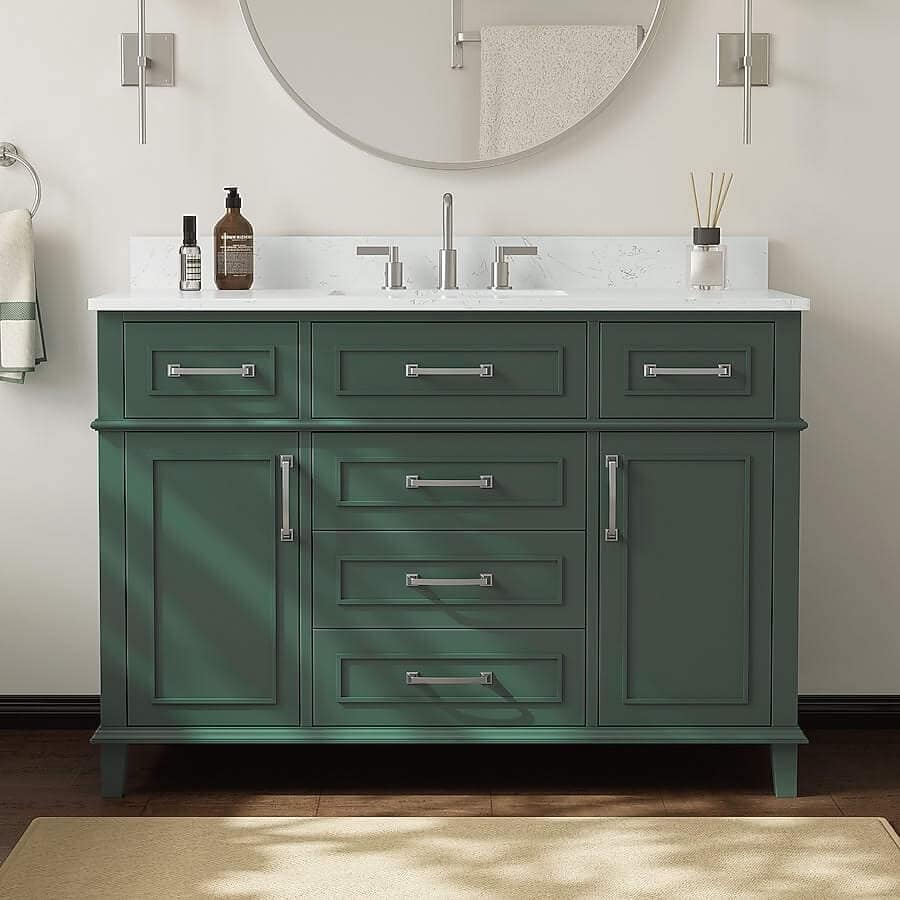
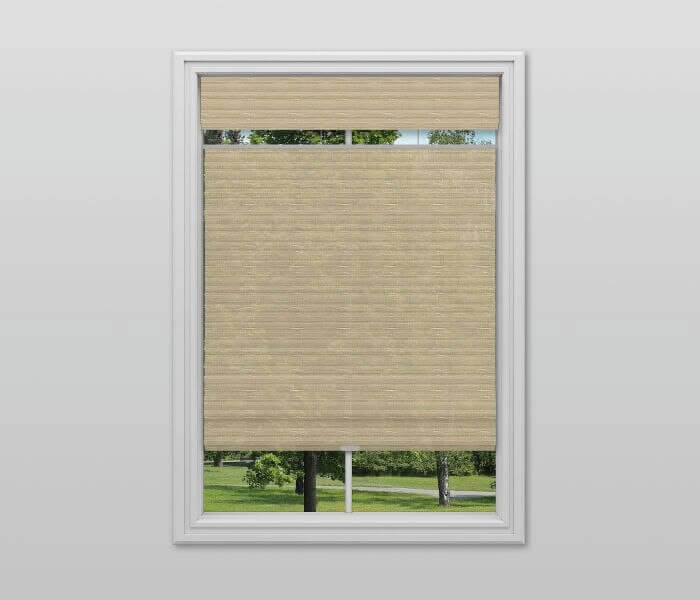
I recently updated our main bathroom with a beautiful leafy wallpaper. It gave the room a fresh new look without tearing out and replacing anything like the floor, vanity, or even the window shade. And I used artwork that I had in other rooms to add a fresh look. I also painted the base of the vanity a slightly darker shade of green than the wallpaper. (Sherwin Williams Vogue Green)
Shopping Resources
If you’re interested in creating a look like you see here, scroll to the bottom of the post for resources of the items seen, or ones that are as close as I could find that are currently available.
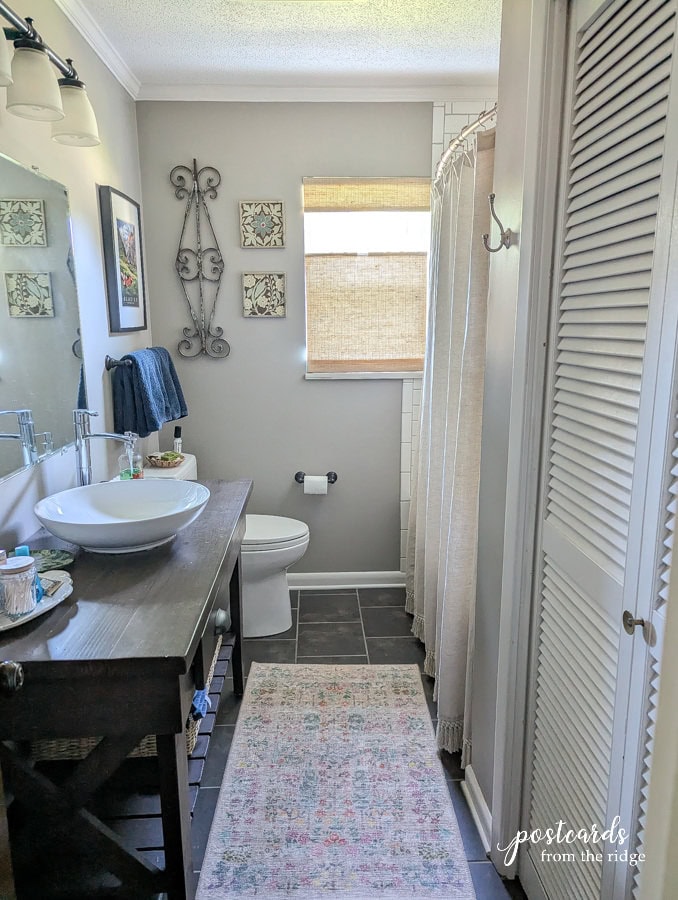
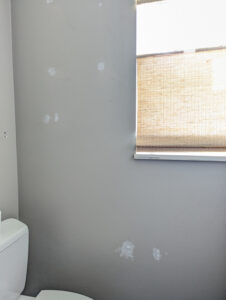
Here’s what it looked like before. Not bad, just boring. I was ready to add some life to this room.
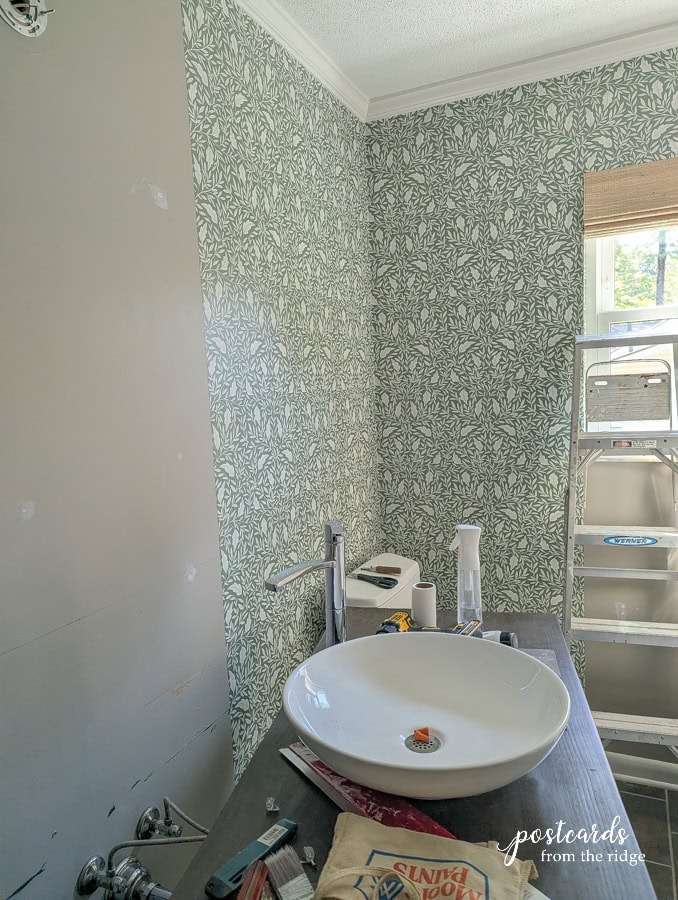
The wallpaper I chose is Wild Tangles in Kale and Ceramic on glissade. I allowed myself three days to install our bathroom wallpaper and that’s what I needed. Here are the steps I followed and the tools I used. NOTE – learn more about peel and stick wallpaper here: The Best Peel and Stick Wallpaper
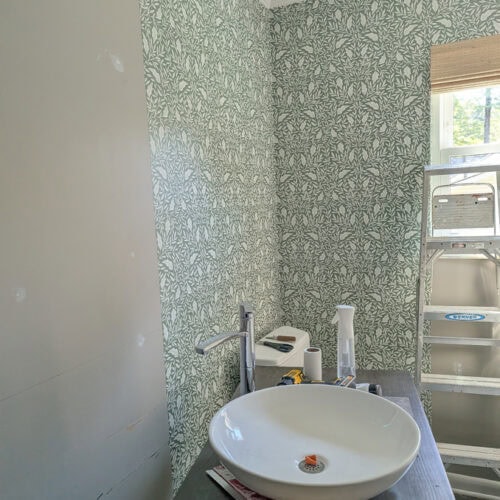
How to Install Wallpaper
Equipment
- Scissors
- Clean rag and water
- Screwdriver or cordless screwdriver
Supplies
- Wallpaper
- Spackling Compound
- Sanding sponge
Instructions
- Remove all wall hangings, blinds, outlet and light switch covers, mirror, and wall-mounted light fixtures.
- Patch and sand any nail holes with Spackling Compound. Allow to dry, then sand smooth with a Sanding sponge.

- Cut your strips making sure that the pattern shows the way you want it to. For example, don't cut a bird design (or similar) in half at the top of the wall. Allow for at least an extra inch at the top and bottom. And make sure you also allow for any pattern repeat before cutting your next strip. Measure twice, cut once!
- Activate the paste. I used the "glissade" wallpaper which requires spraying the wall and the back of the paper with water. I used a continuous spray mister that didn't require as many pumps as a regular spray bottle. NOTE – Some papers are "paste the wall" type and for those, you'll apply your paste with a roller or brush. Peel and stick requires no paste.
- Use your level to make sure each strip is hung straight.
- Smooth out all air bubbles with your wallpaper smoothing tool.
- Use a sharp utility knife and cutting guide to carefully cut around trim, doors, and windows.
- Match up your pattern at the seams with each new strip.
- Wipe down the seams and paper with a rag or sponge and clean water after installing it to clean off any glue reside.
- Re-hang mirror, wall art, and light fixture. Re-install outlet and light switch covers.

- Throw out scraps, wash down the wallpaper before any glue dries, sweep, mop, etc.
- Do a little happy dance that it’s finished!
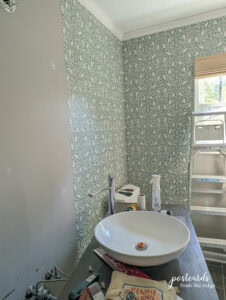
Bathrooms are more challenging than other rooms because there are toilets, vanities, as well as windows and doors to cut around. But if you take your time it’s not that difficult.
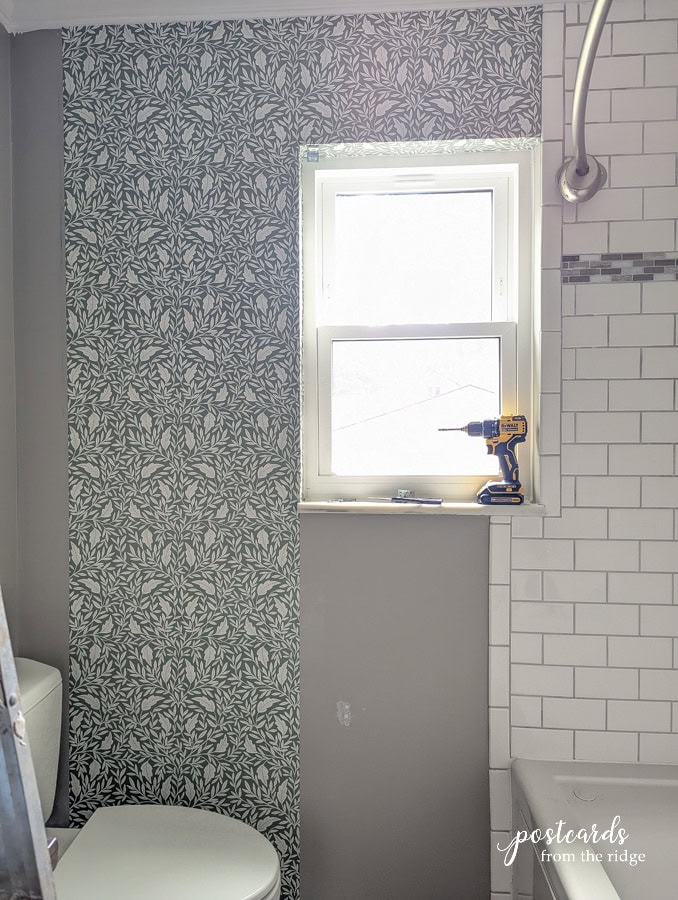
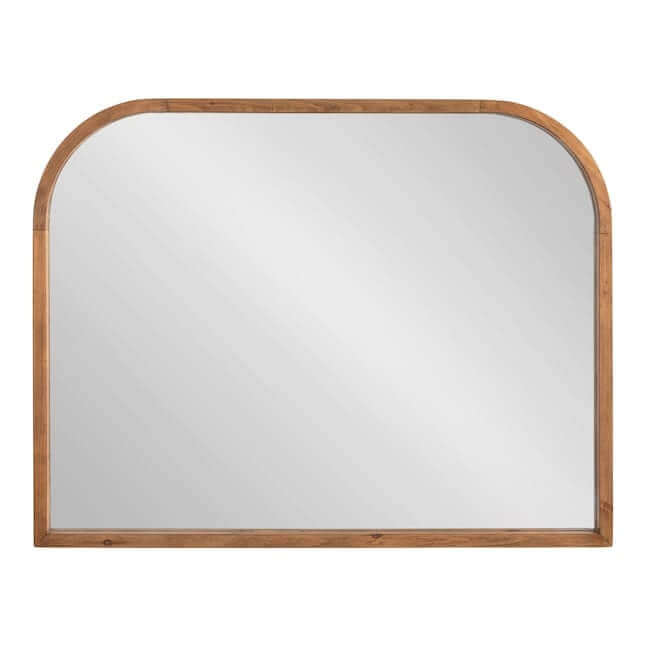
I’m thrilled with how it all turned out. I didn’t replace anything else except the mirror.
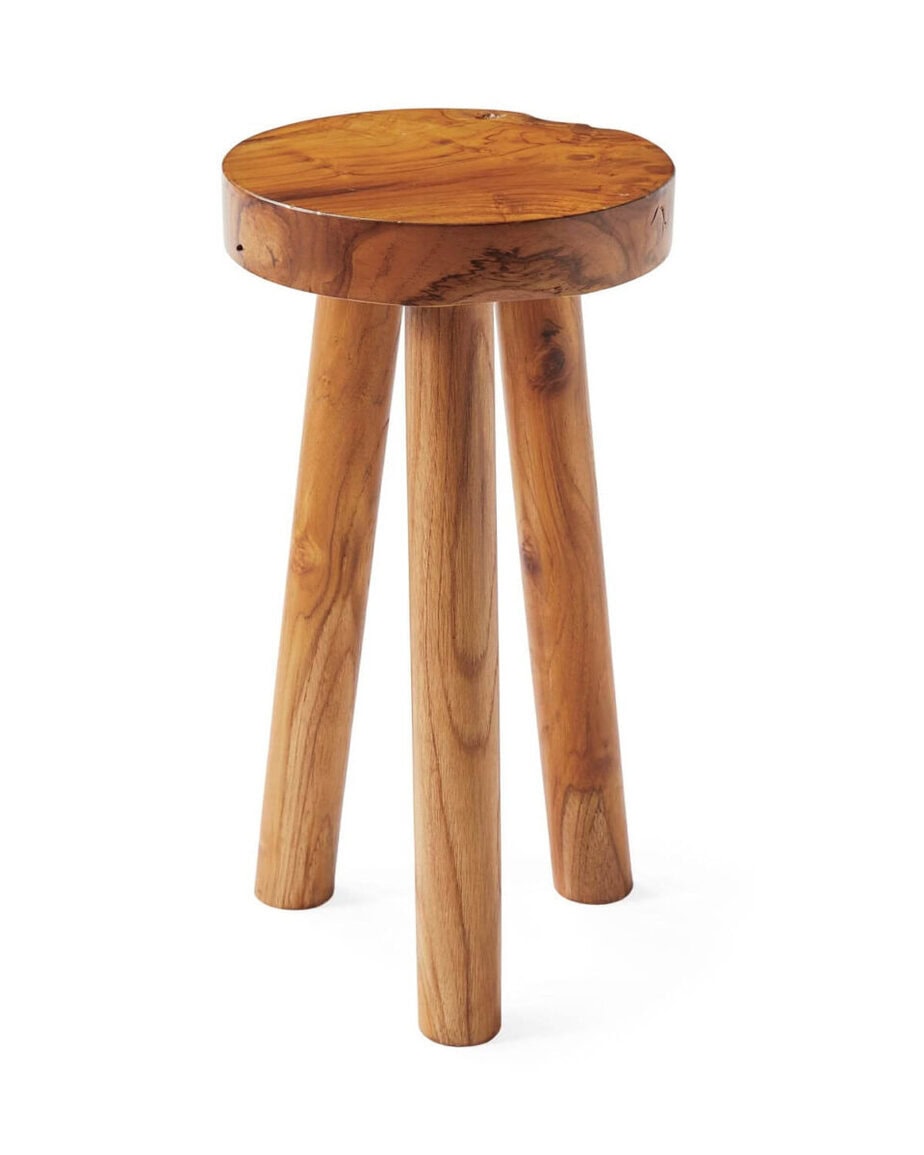
And I brought in a few favorite items from other areas of the house to finish the space.
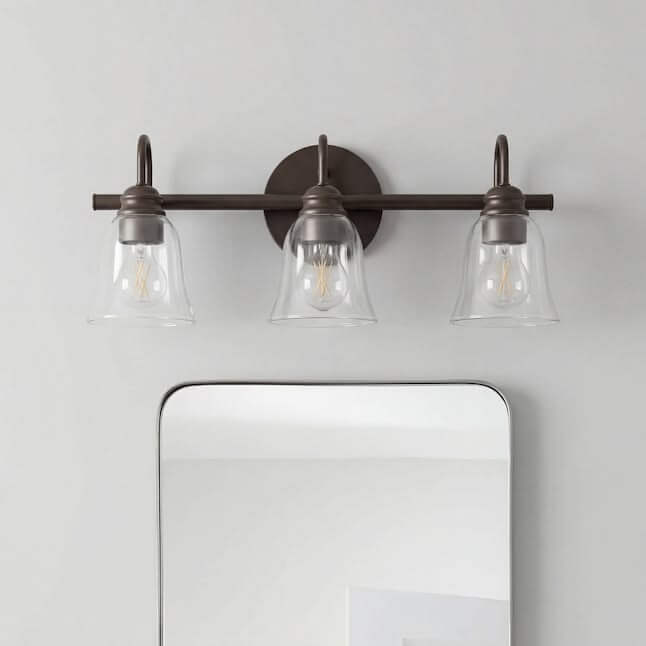
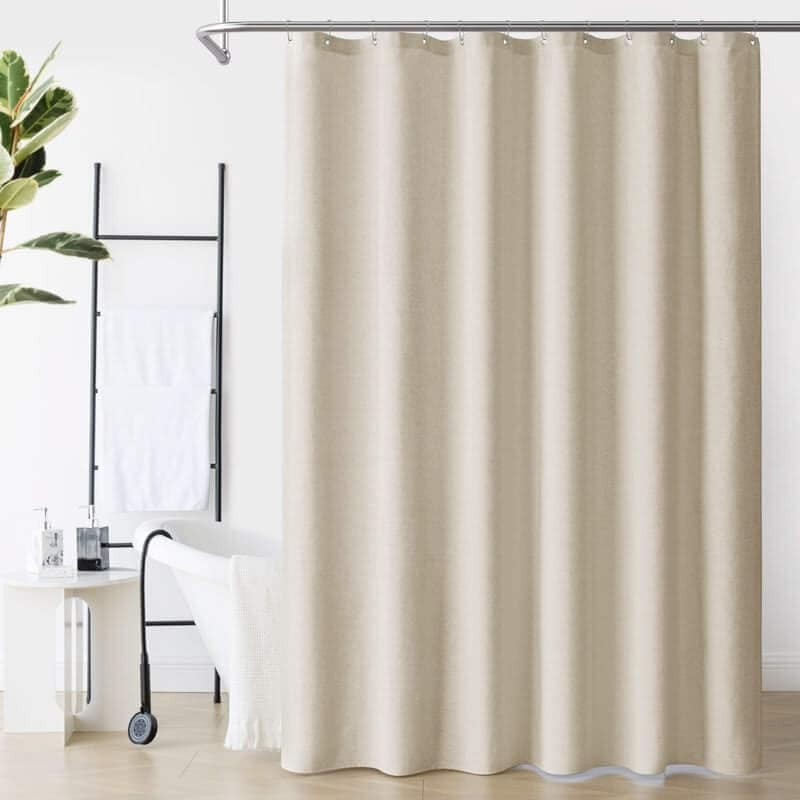
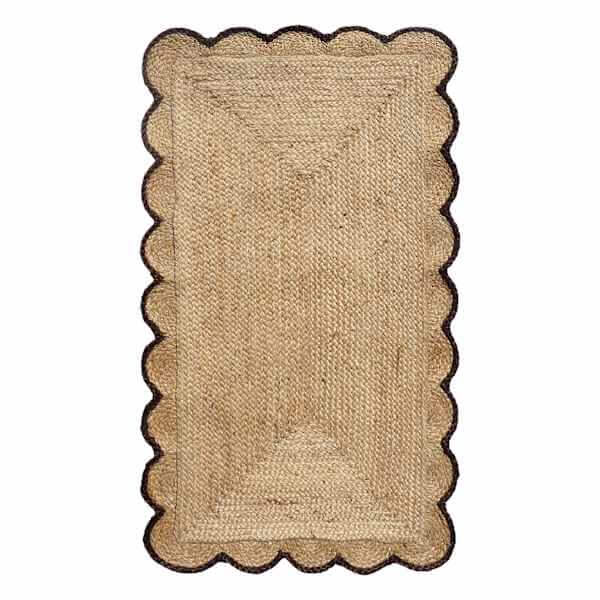
Shop this room
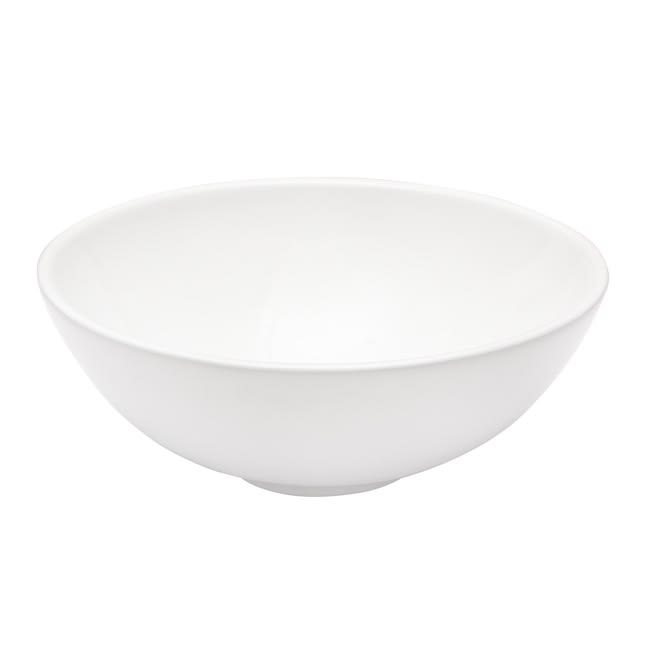
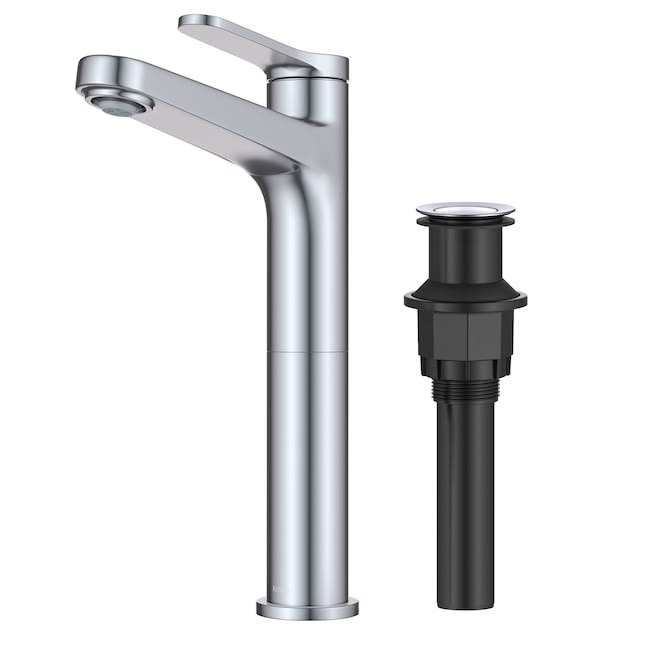
I’ve added sources (or as close as I could find) for everything in this room. They’re all found below.

Let me know what you think of the room and if you’ve ever hung wallpaper!