
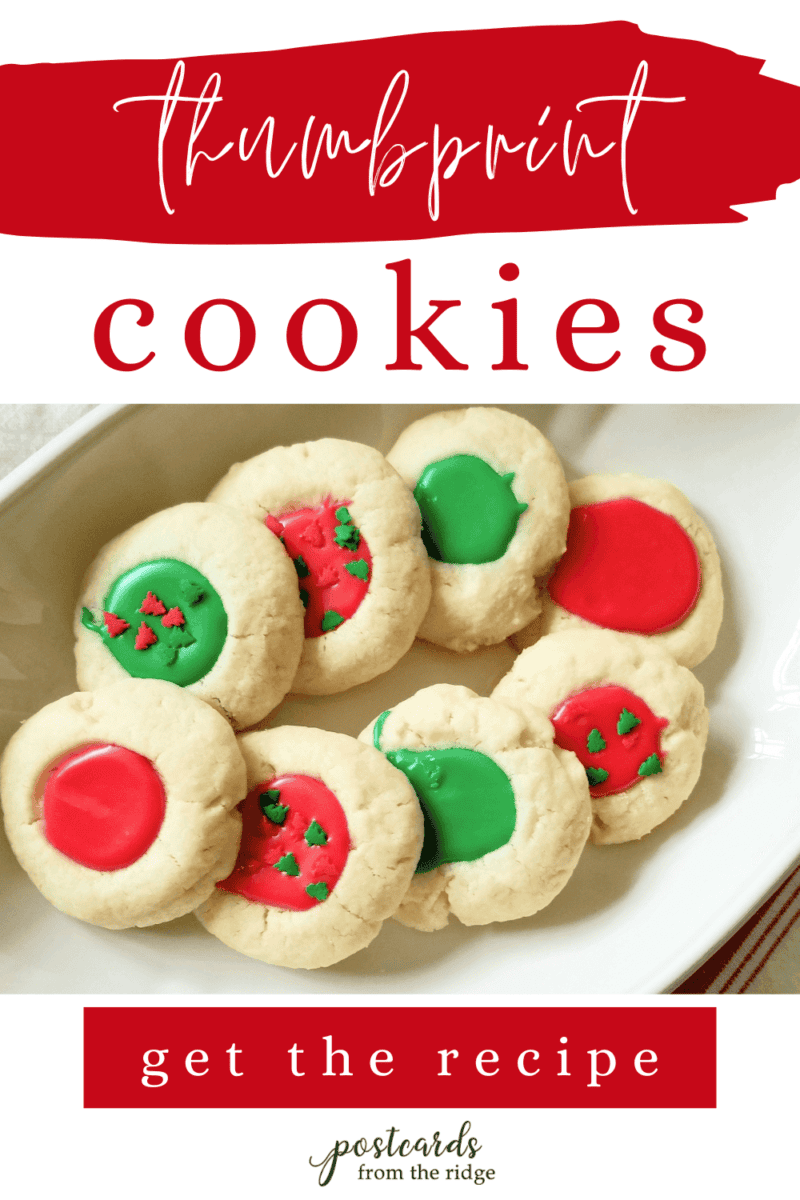
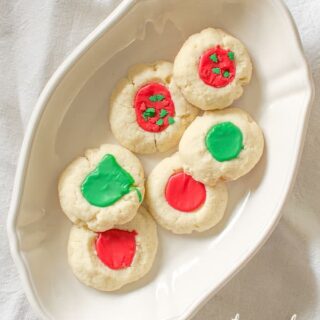
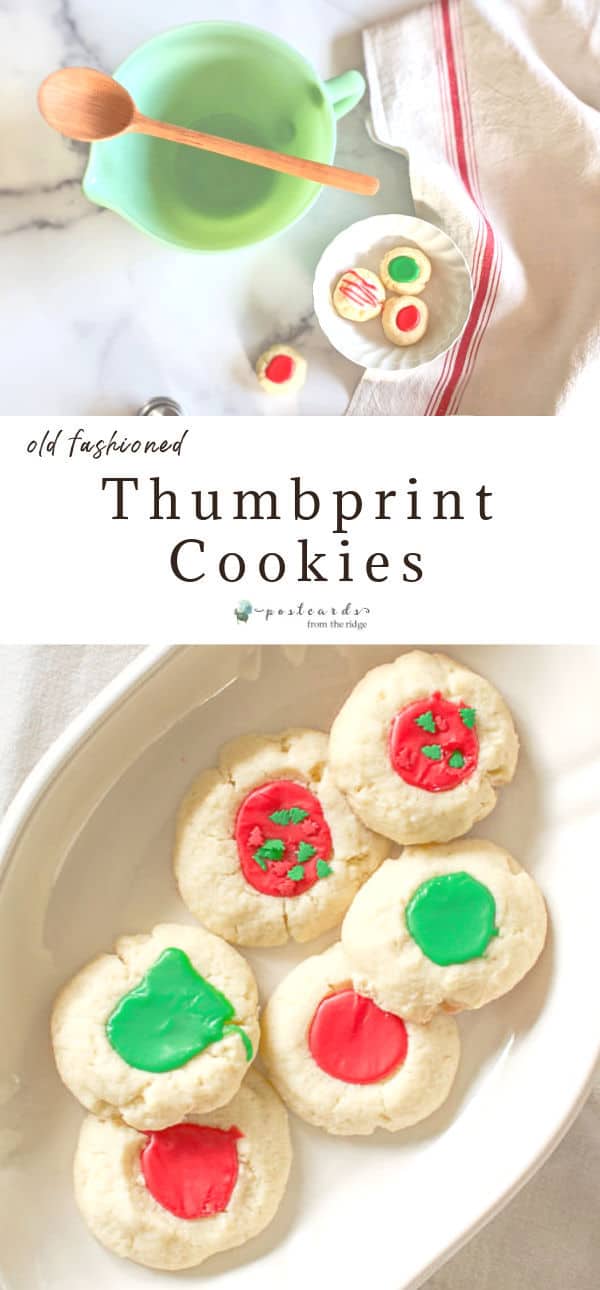
Thumbprint Cookies With Icing Recipe That Everyone Loves
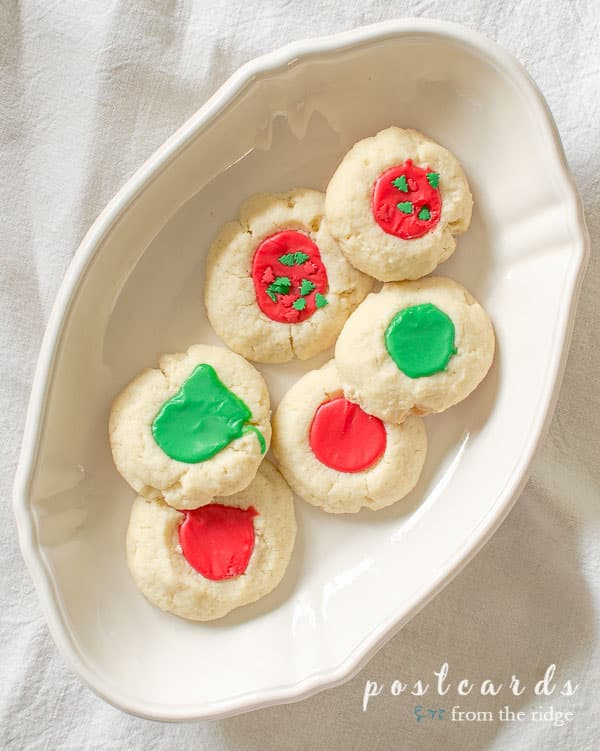
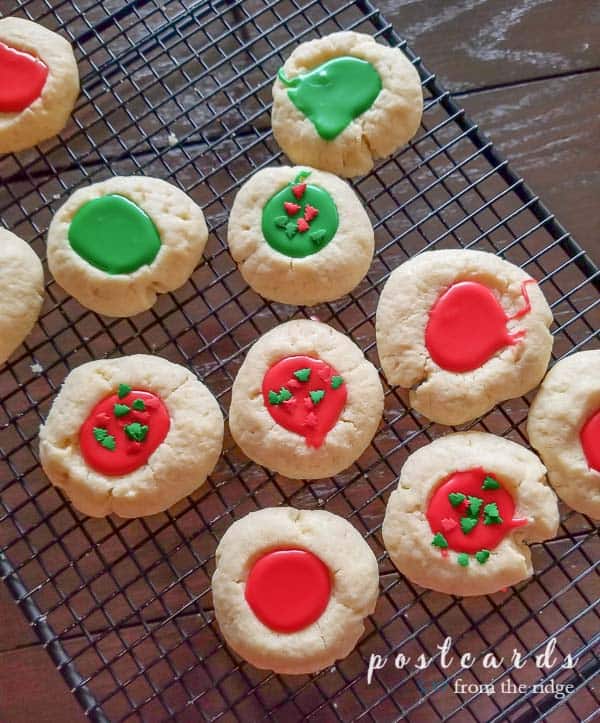
You’ll love this classic thumbprint cookies with icing recipe. Our family has been making them for years and they’re a tradition at Christmas, but you can change the icing color and make them any time of year.
Thumbprint Cookies With Icing Recipe
This post contains affiliate links for your convenience. I may make a small commission on products purchased with my link, but your price does not change. For full disclosure go here: Disclosure and Policies. Thank you for supporting my site.
Eating thumbprint cookies is one of my favorite memories of growing up. We had a local bakery that always displayed a beautiful variety of colors and I could never resist. My favorites were the ones in spring that had pink, green, and yellow glaze, but they all had the same yummy flavor.
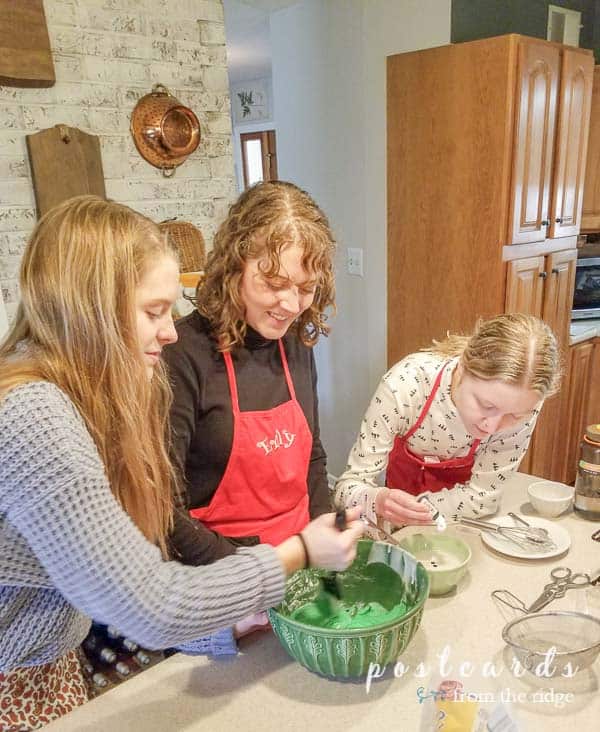
In recent years I’ve enjoyed having a baking day in December with my daughters and my mom, and sometimes my niece. One of the things we love to bake are good old-fashioned thumbprint cookies. And last year I made some yummy red velvet whoopie pies.
Admittedly, I eat too many of these little gems. They’re just so easy to pop in your mouth and enjoy. And they’re so darn good! It’s impossible to resist them. (Another cookie I love to eat is old-fashioned peanut butter cookies.)
We’ve used a recipe from an old Southern Living Cookbook for years but I tweaked it by adding a bit of almond extract. I think it’s better than ever!
A few fun facts about thumbprint cookies:
- Where did thumbprint cookies originate?
Many believe that they were first made in Poland, Sweden, or the Jewish communites of Europe. - In Sweden, they were traditionally made with raspberry jam. The little indention for the jam was created by using their thumbs. The Swedish name for them is “hallongrotta”, which means “raspberry cave”.
- They have also been called butterball, bird’s nest, and Polish tea cakes.
- They are believed to have originated sometime in the 1800’s.
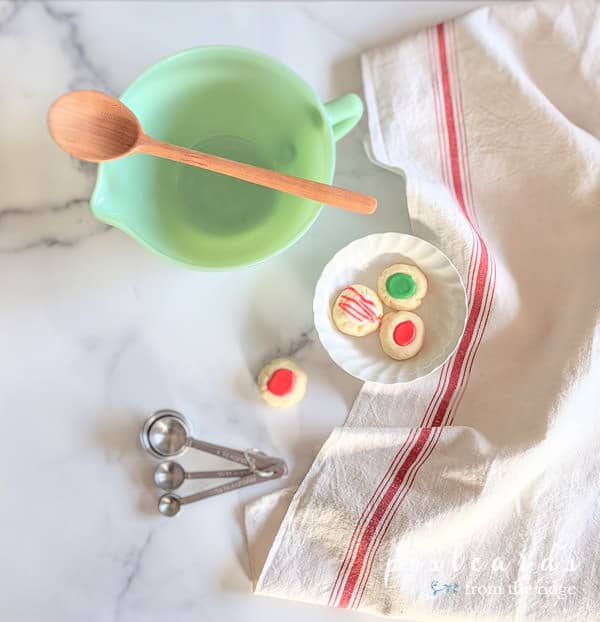
Here’s the recipe for these delicious little bite-sized cookies. They’re super simple to make and you probably have all of the ingredients in your pantry.
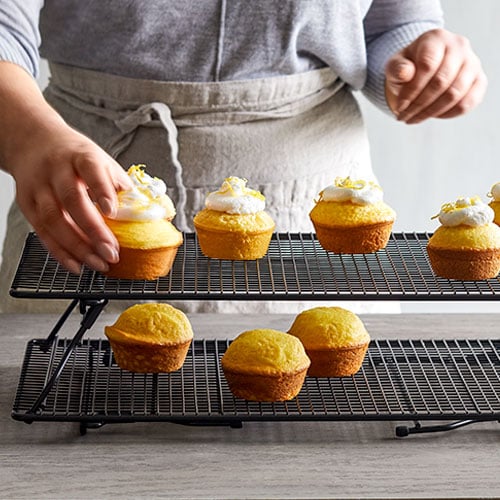
And these are my favorite cookie baking tools and supplies:
Tools you’ll need
Thumbprint Cookies with Icing Recipe
Ingredients
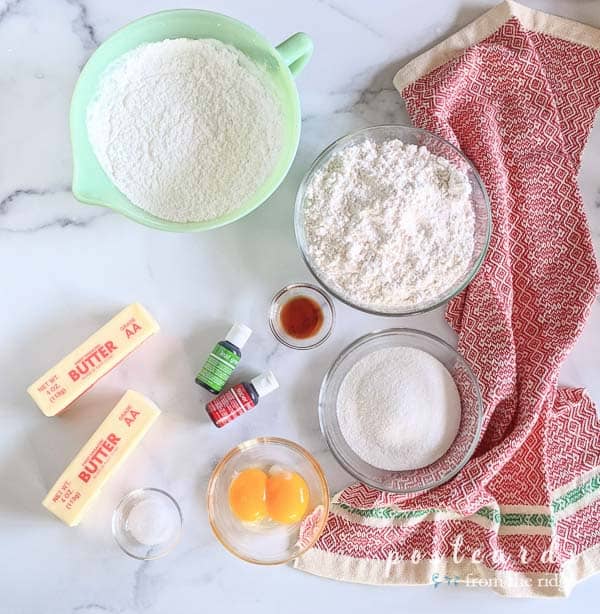
Cookie Dough Ingredients
- 1 cup softened butter
- 2/3 cup sugar
- 2 egg yolks
- 1/2 teaspoon vanilla extract
- 1/2 teaspoon almond extract
- 2 1/4 cups all purpose flour
- 1/4 teaspoon salt
Glaze Ingredients
- 2 cups sifted powdered sugar
- 3 to 4 Tbsp whole milk
- 1/2 tsp vanilla extract pure
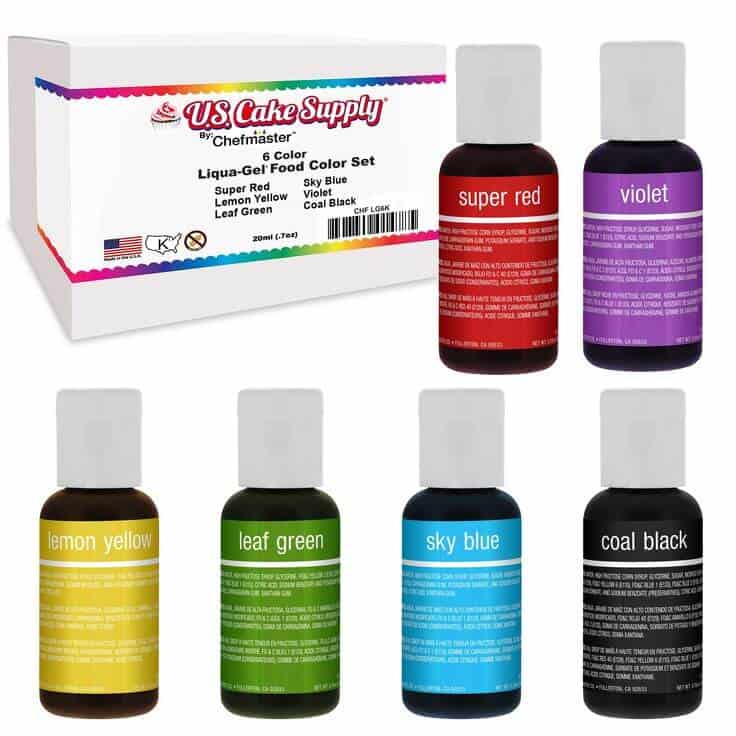
- a few drops of red food coloring
- a few drops of green food coloring
- sprinkles optional
Instructions
Dough Instructions
- Cream butter and gradually add sugar, beating at medium speed of an electric mixer until the mixture is light and fluffy.
- Add the egg yolks one at a time, beating well after each addition.
- Stir in vanilla and almond extract.
- Combine flour and salt in a medium bowl. Slowly add to the creamed mixture. Mix well.
- Chill dough for at least one hour.
- Shape chilled dough into 1″ round balls.
- Place 2″ apart on ungreased cookie sheets.
- Flatten cookie balls slightly, then press thumb into each cookie, leaving an indention large enough for icing.
- Bake at 300° for 20 to 25 minutes. Do not brown.
- Place on wire racks to cool.
- Using a spoon, make an indention in the middle of each cookie while they're slightly warm.
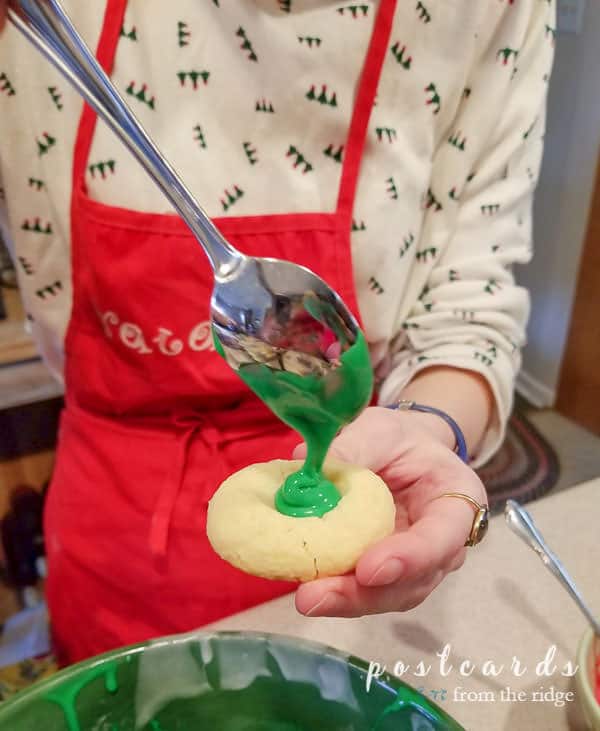
Glaze/Icing Instructions
- Mix all ingredients together until smooth.
- Add a few drops of red or green food coloring if desired.
- Spoon about 1/2 teaspoon onto each cookie.
Notes
Nutrition
Happy baking! Let me know if you make these thumbprint cookies and how you like them!


I've always loved thumbprint cookies – and these are so pretty!
Shelley