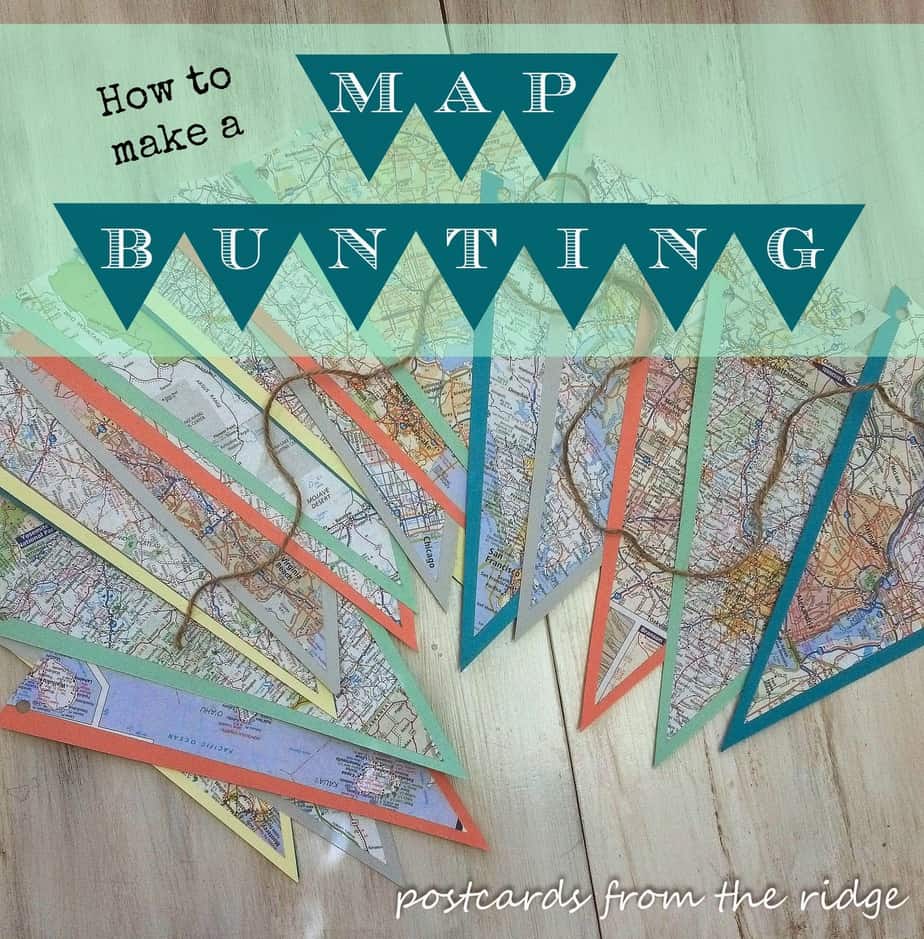
How to make a map bunting
Hello, friends! Happy June!
I’ve been on a brief hiatus from blogging so I could enjoy and celebrate my oldest daughter’s graduation from high school and all the events that go along with it, as well as my younger daughter’s completion of middle school. Our end-of-the-school-year activities were crazy busy this year.
I don’t know about you, but after all of our activities I’m definitely ready for a vacation. And today I’m sharing a fun way to document your vacation travels by making a personalized map bunting.
It’s a simple and inexpensive project that only takes a couple of hours.
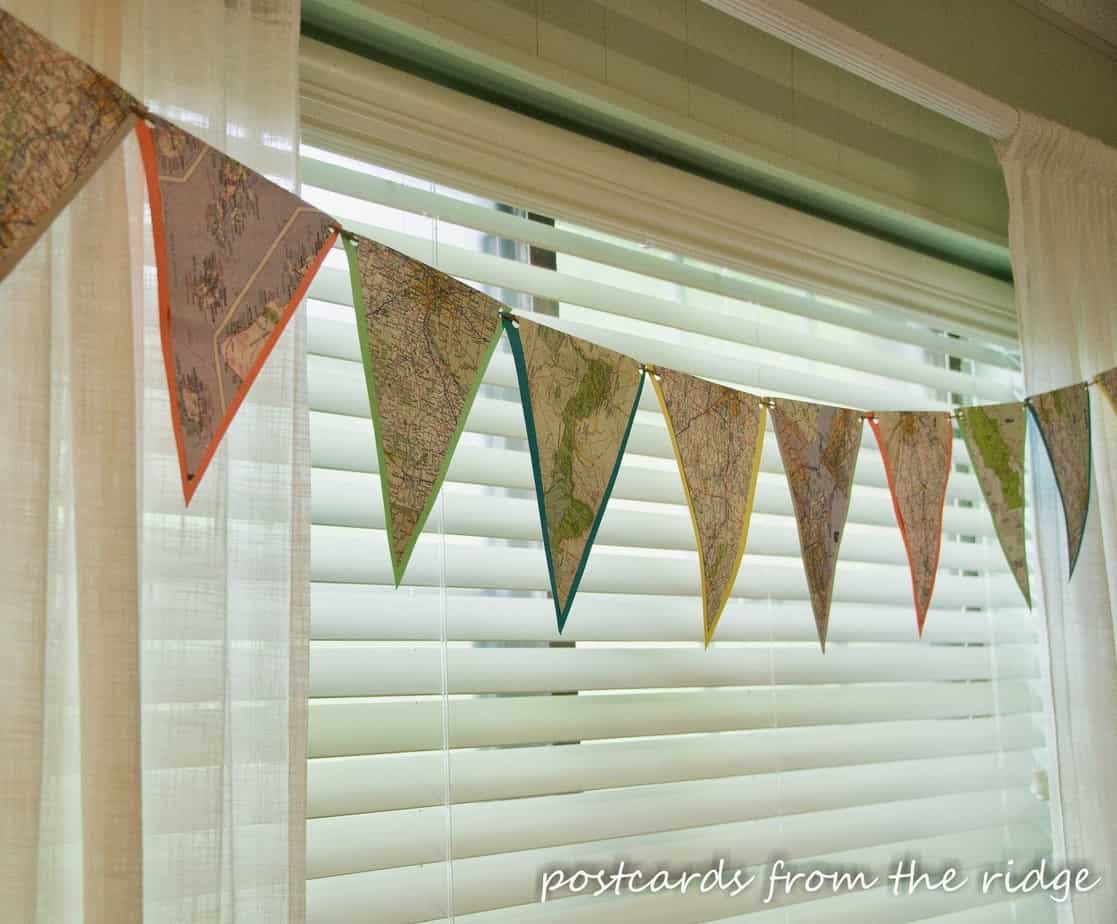
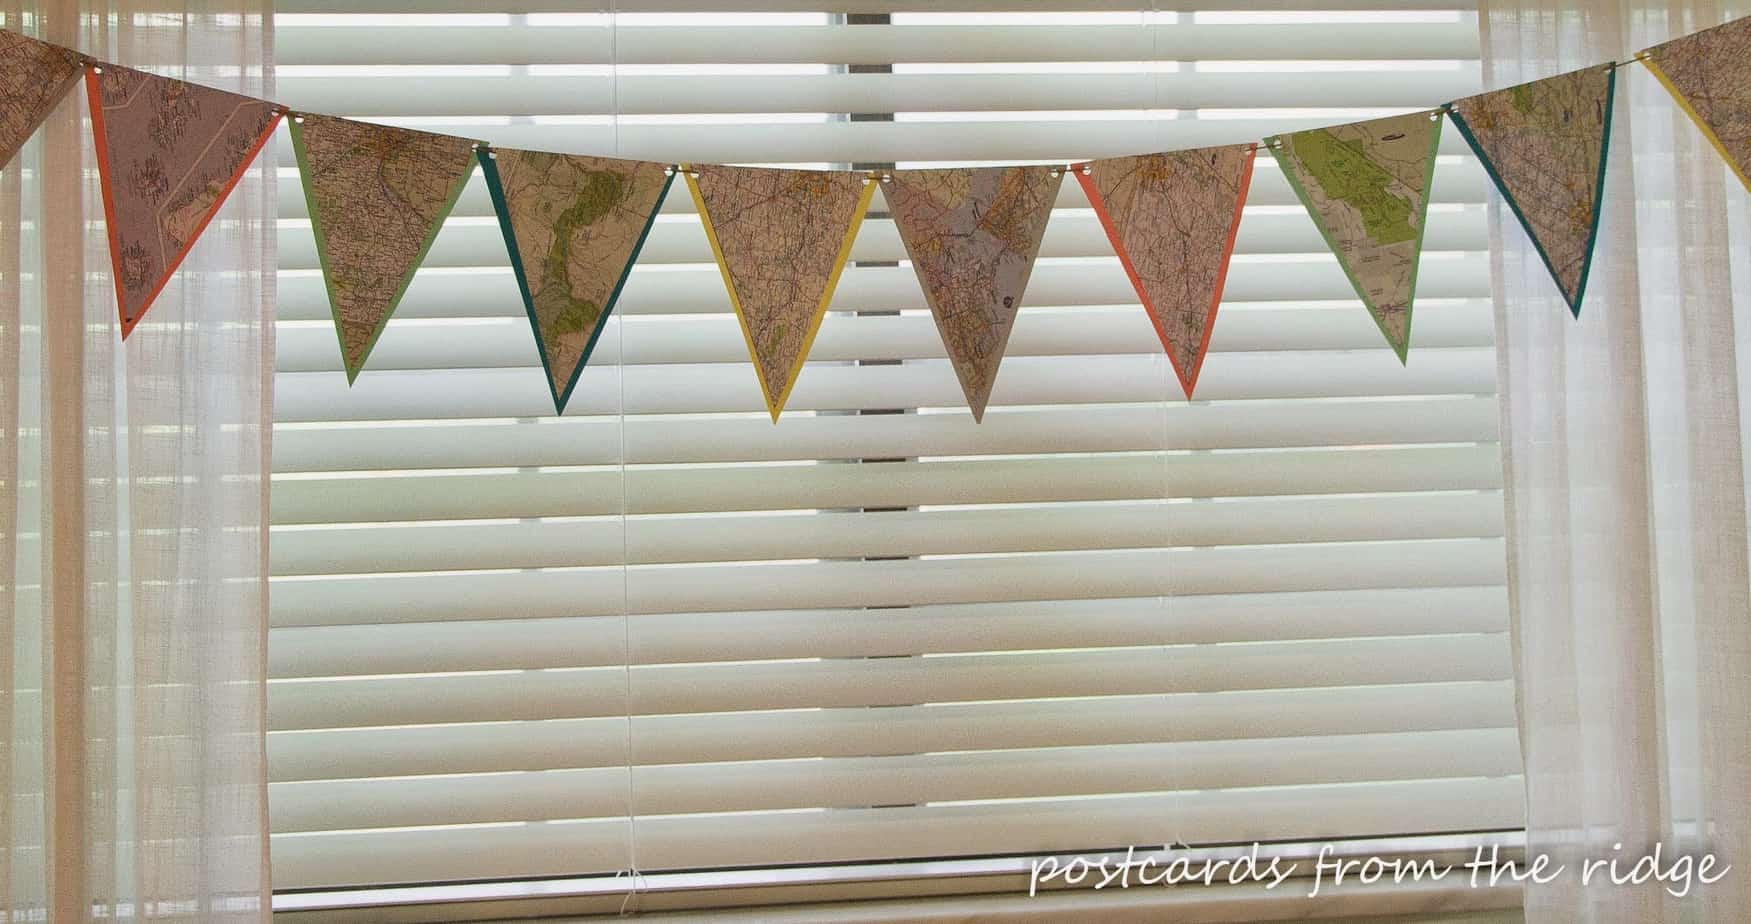
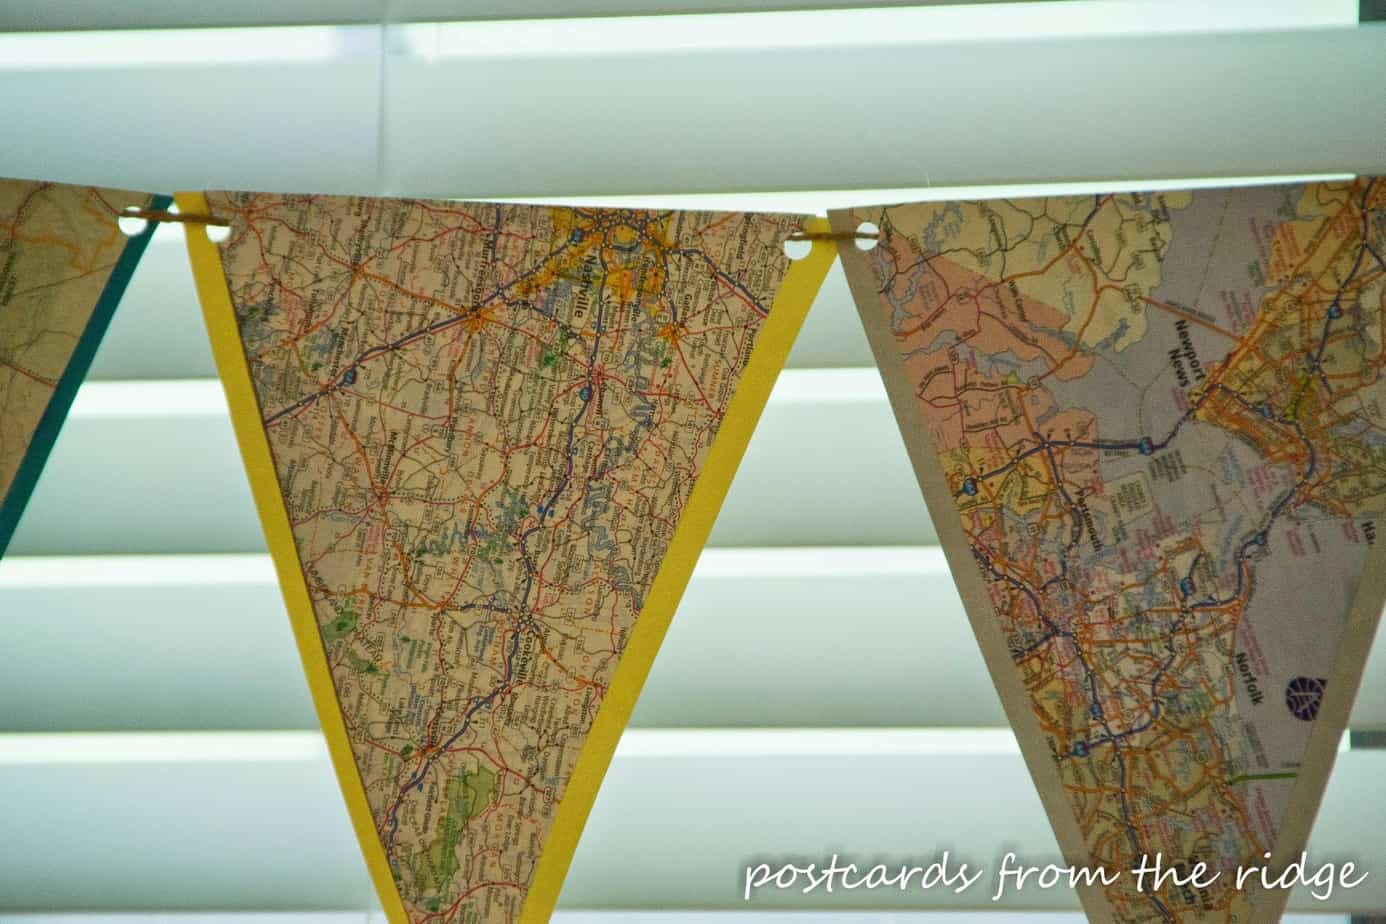
I made this one for my older daughter who wants to travel the world.
I wanted to give her a little gift that she could take with her to her dorm room in the fall, and keep it for future places that she lives.
It’s made in a way that she can add to it as she travels to different places in the future.
And I personalized it by making it from maps of places she has already traveled to.
SUPPLIES NEEDED:
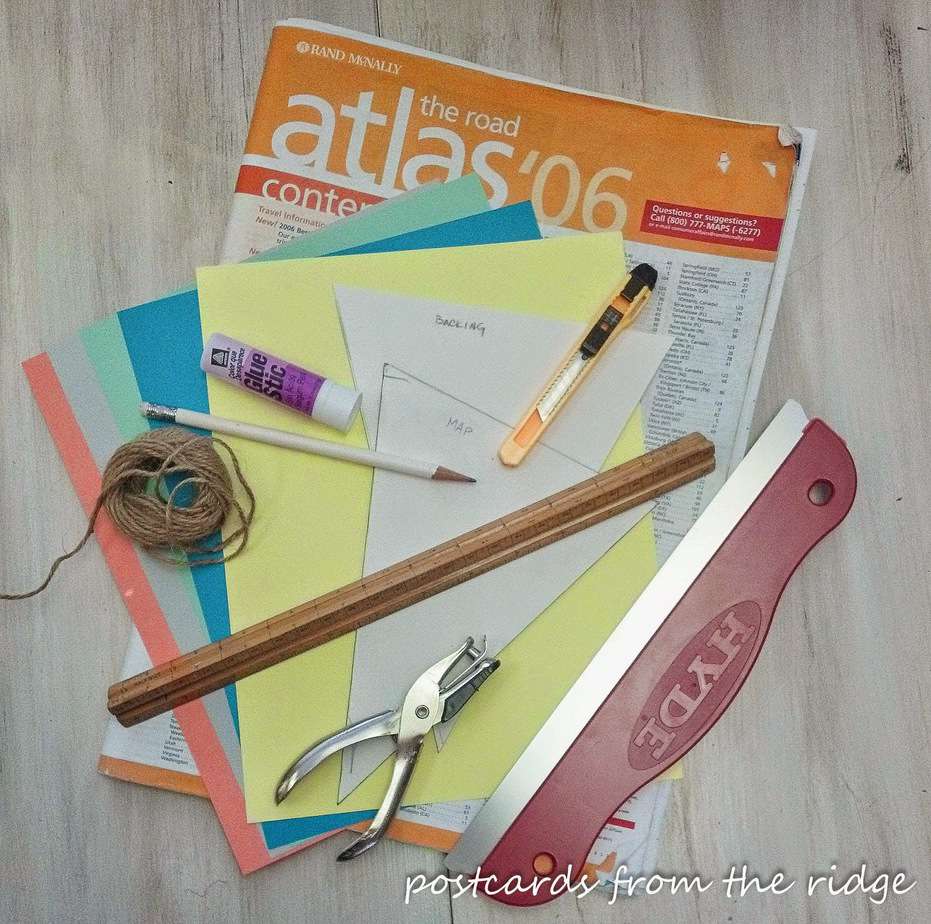
- Atlas or maps. I used an outdated atlas that we had on hand. You can probably find one at a yard sale or thrift shop, or simply collect the free ones that you get sometimes when you visit local attractions.
- Ruler
- Pencil
- Xacto knife or sharp utility knife
- Metal straight edge to cut against
- Paper and card stock
- Glue stick
- Hole punch
- Twine or yarn to string it on
HOW TO MAKE THE BUNTING:
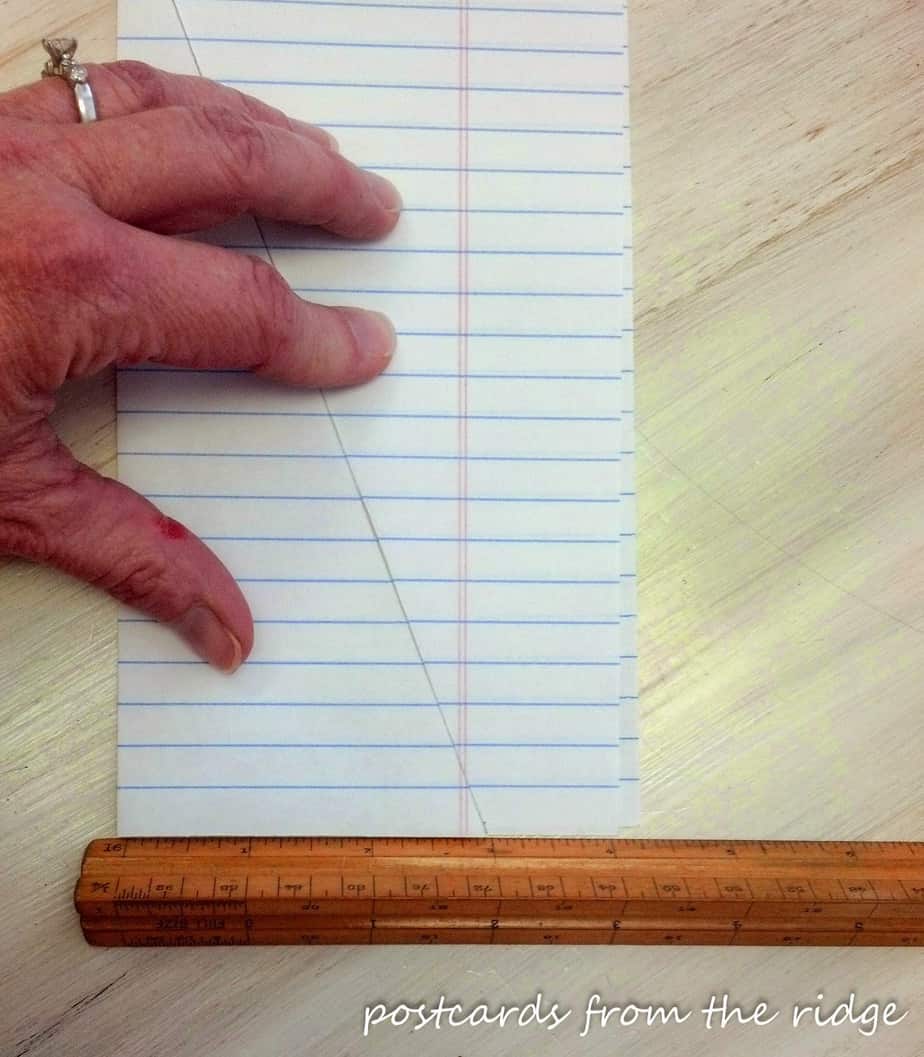
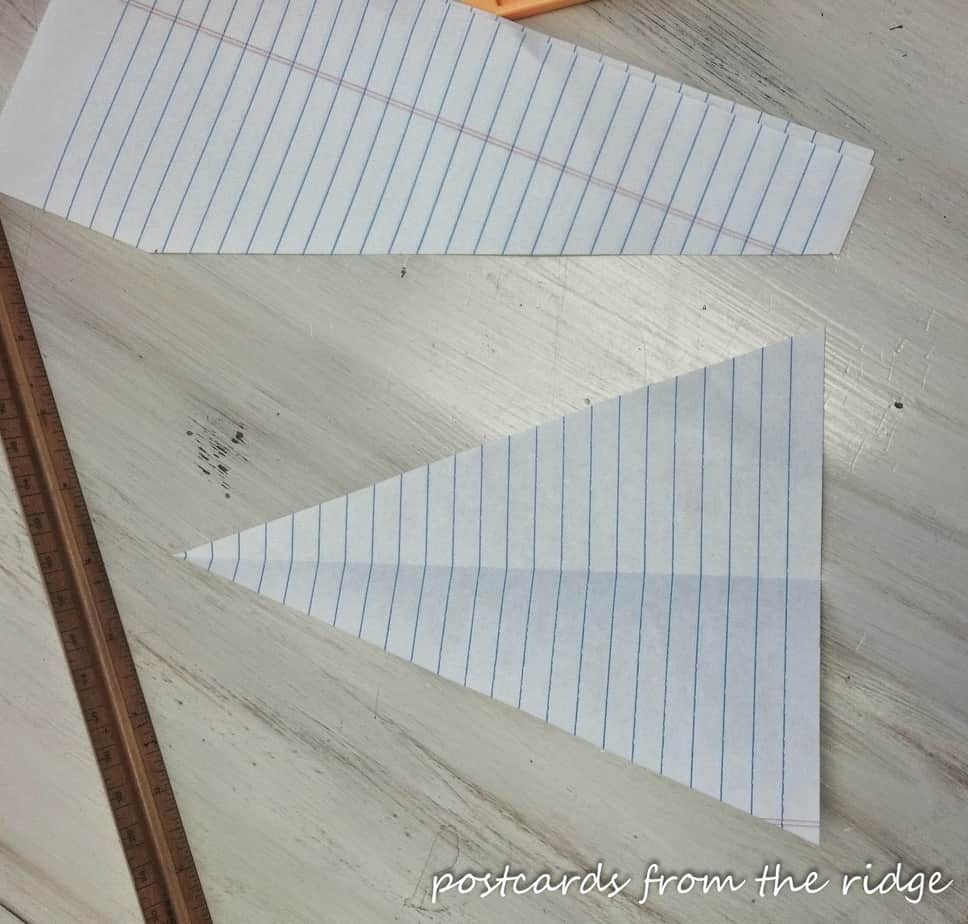
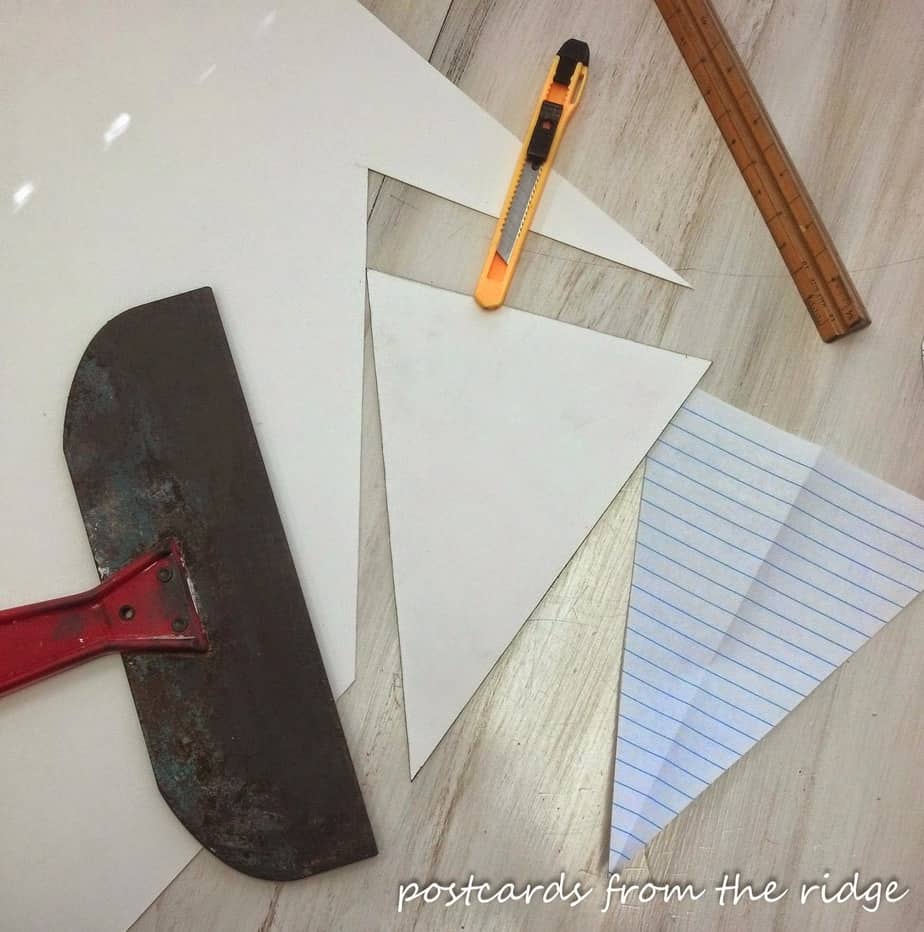
1. Make a template to cut your pattern from. I used a sheet of notebook paper and cut a 3″ x 8″ triangle from a sheet that was folded in half. You can make them any size you want.
When unfolded, this made my pattern 6″ x 8″.
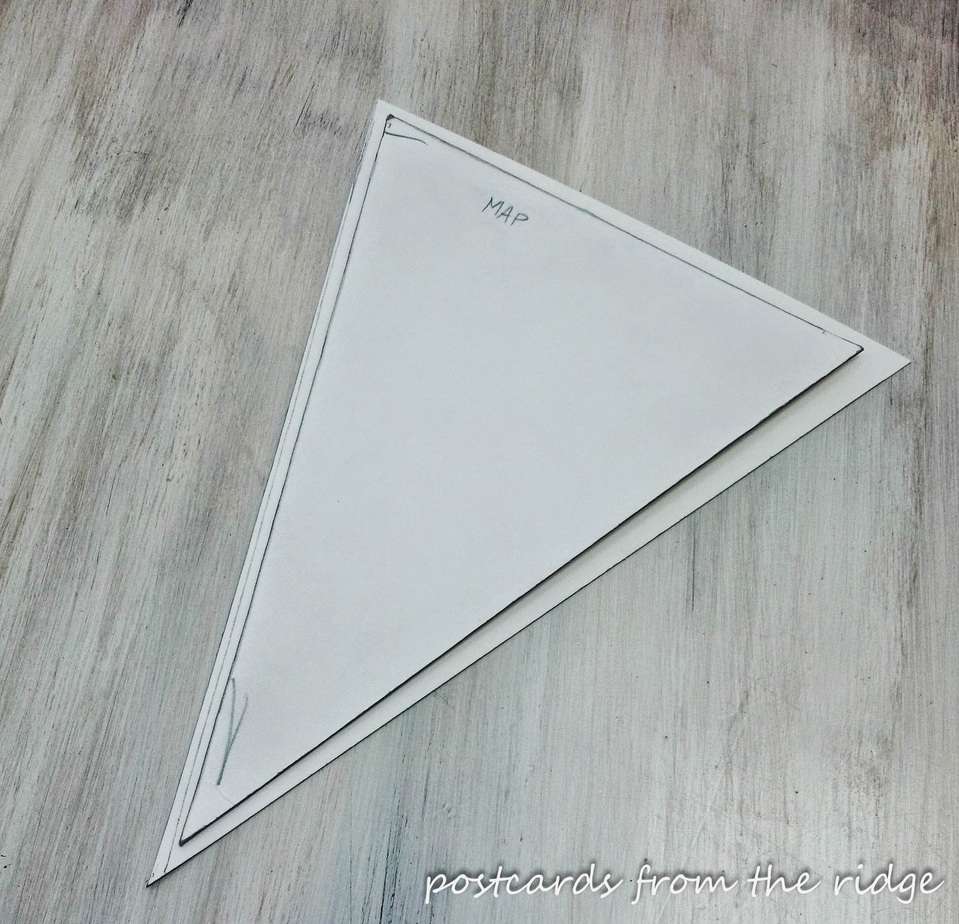
2. Use the pattern you just made to trace the triangle shape on a piece of poster board or something thick to use as your template for the map triangles. (Notebook paper is too thin to trace multiple times.) Use your straight edge and sharp blade to cut out the thicker triangle template you just drew.
3. If using an atlas, remove the staples so you have nice large pages to trace the triangles onto. Using your template, draw triangles over the areas of the map you want to use for your bunting.
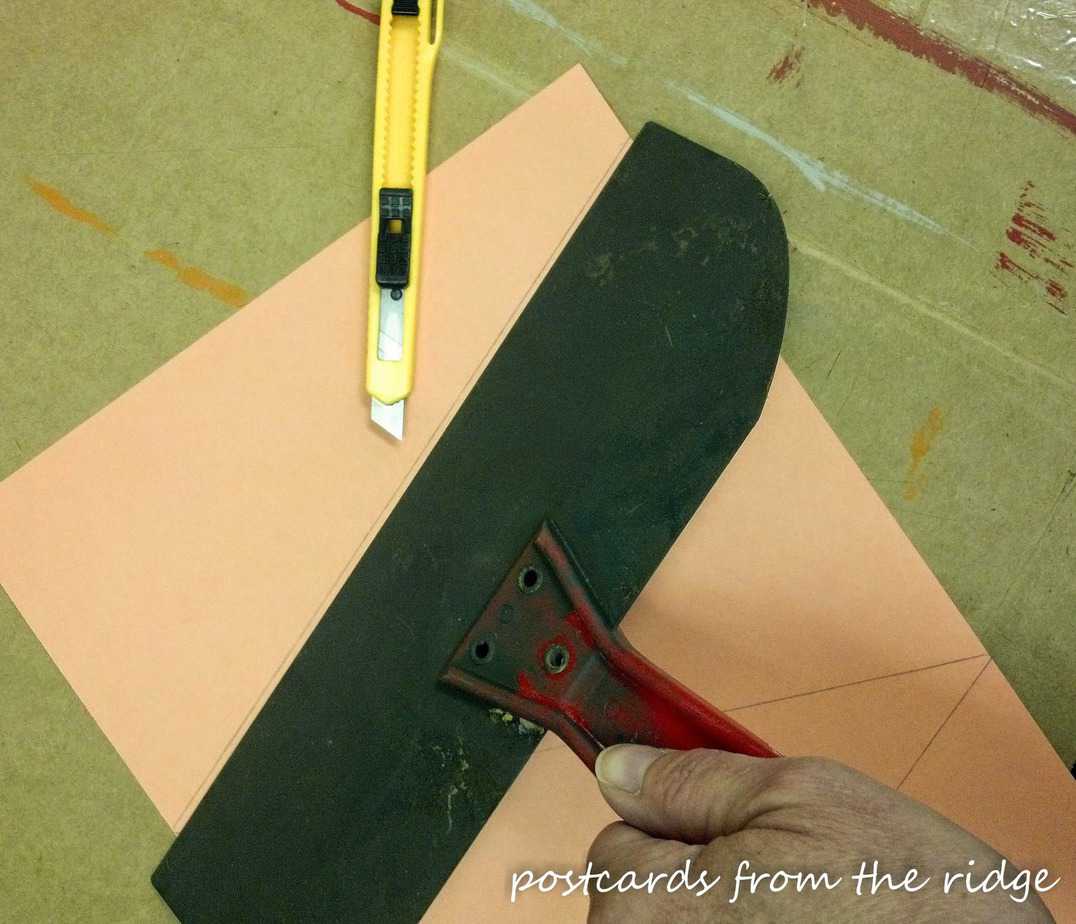
4. After tracing the triangles, cut them out using your straight edge and sharp knife. Be sure to place a cutting mat or cardboard underneath the paper.
I made about 20 triangles for this bunting, but you could make as many as you want, depending on how long you want the bunting to be.
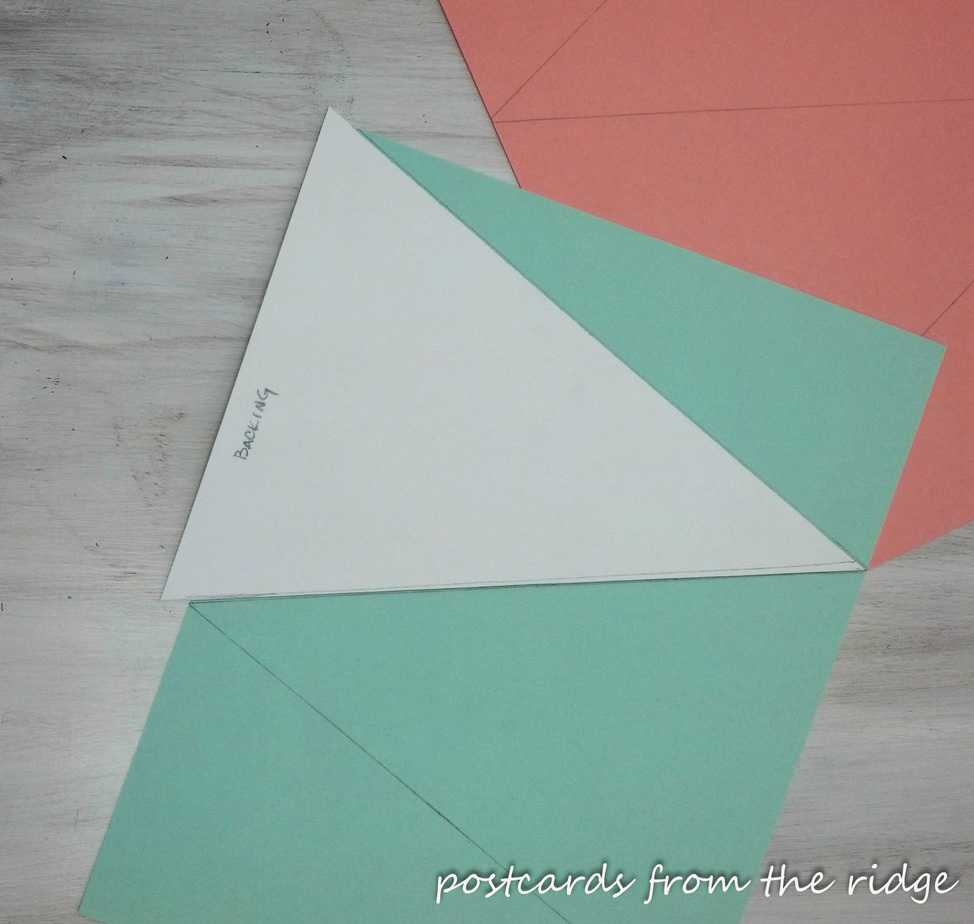
5. Using the tracing and cutting method described above, make another template for the colored card stock pages. These need to be larger if you want to see them because they will be what the map triangles are glued to. You could use the map triangles alone for the bunting, but they might curl eventually or tear easily.
I made the template for the card stock pages 3.5″ x 8.5″.
6. Trace the larger template onto the card stock.
7. Using your sharp blade and straight edge, cut the card stock triangles.
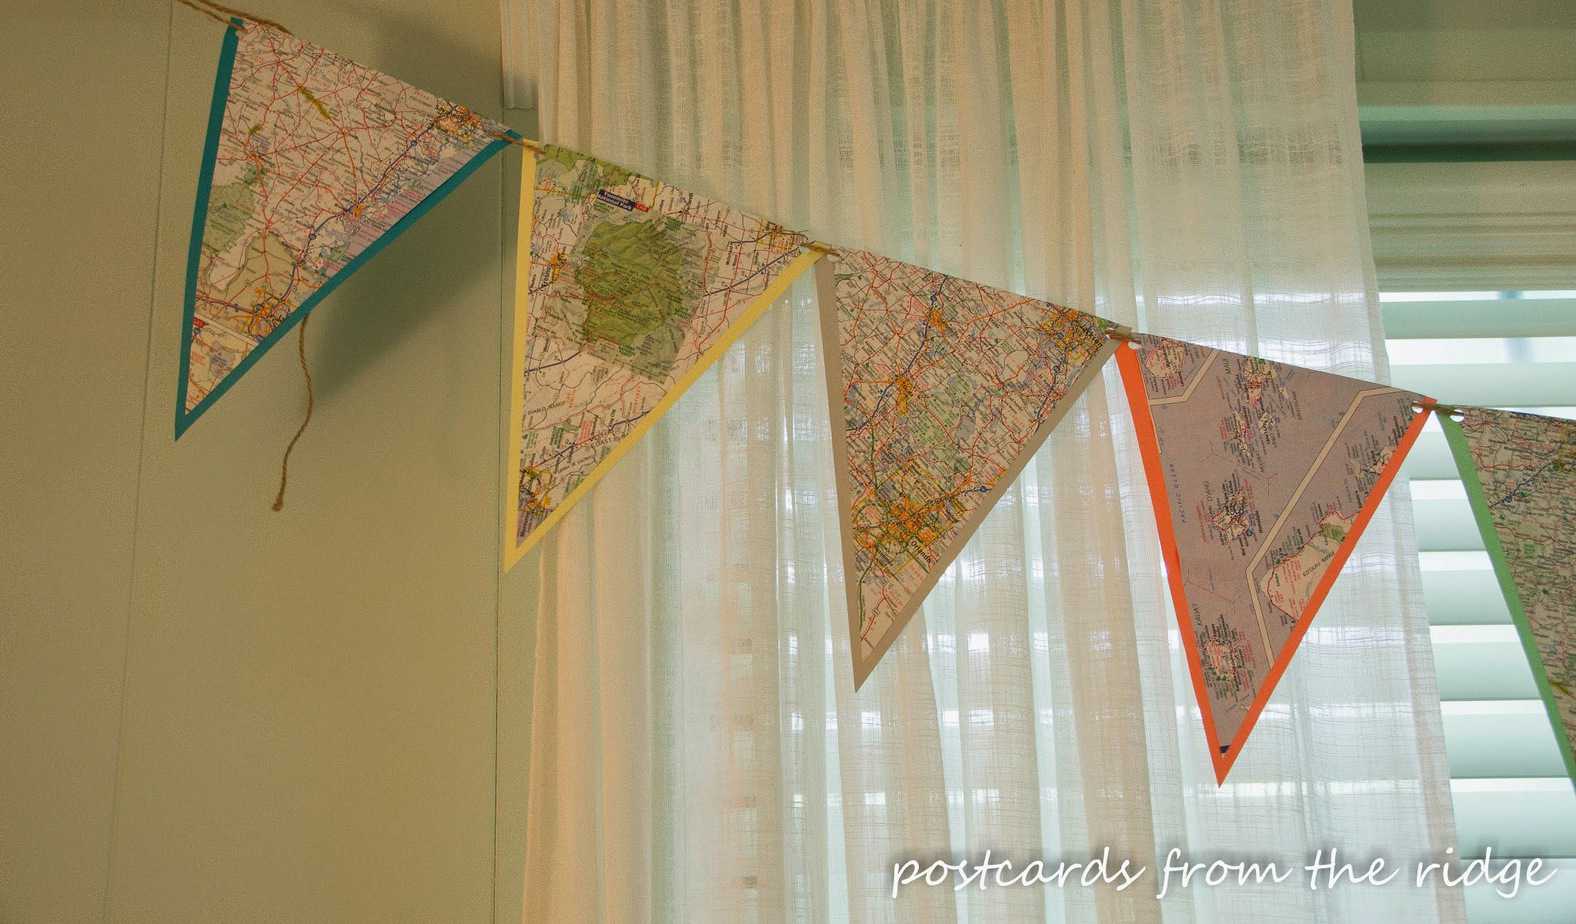
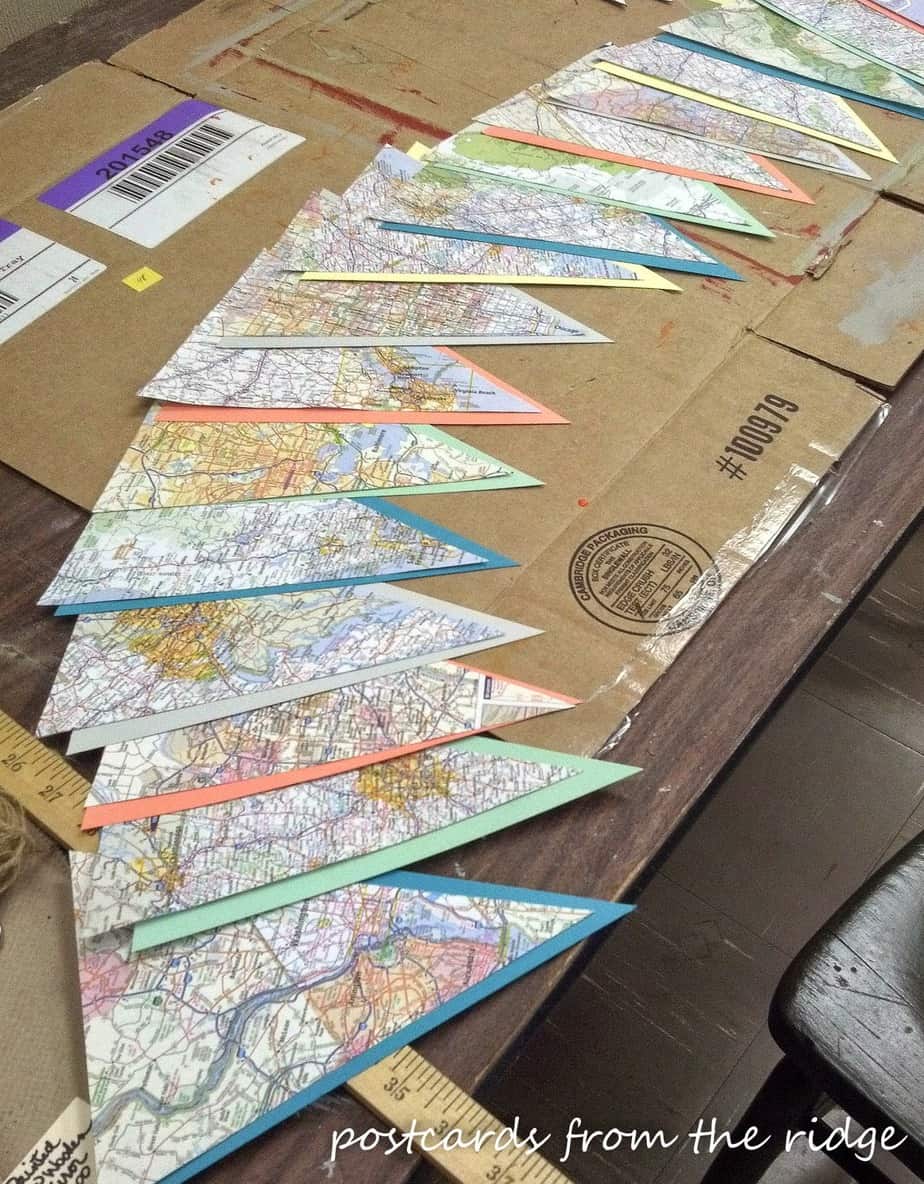
I chose colors that were found in the map pages, but you could use any color if you don’t have ocd tendencies like I do. 🙂
8. Glue the map triangles to the card stock triangles using your glue stick. There was some overlap on the top, but I wrapped it over and glued it to the top of the back edge for a little more stability.
Note: If you want to have some variation in the bunting, alternate the map triangles based on the colors. Some of these have more green, some have more blue, and some have gold or other colors. For this one, first I decided on the order of the map triangles. Then I placed the card stock underneath to make sure I liked the layout. Then I glued the map triangle to the card stock.
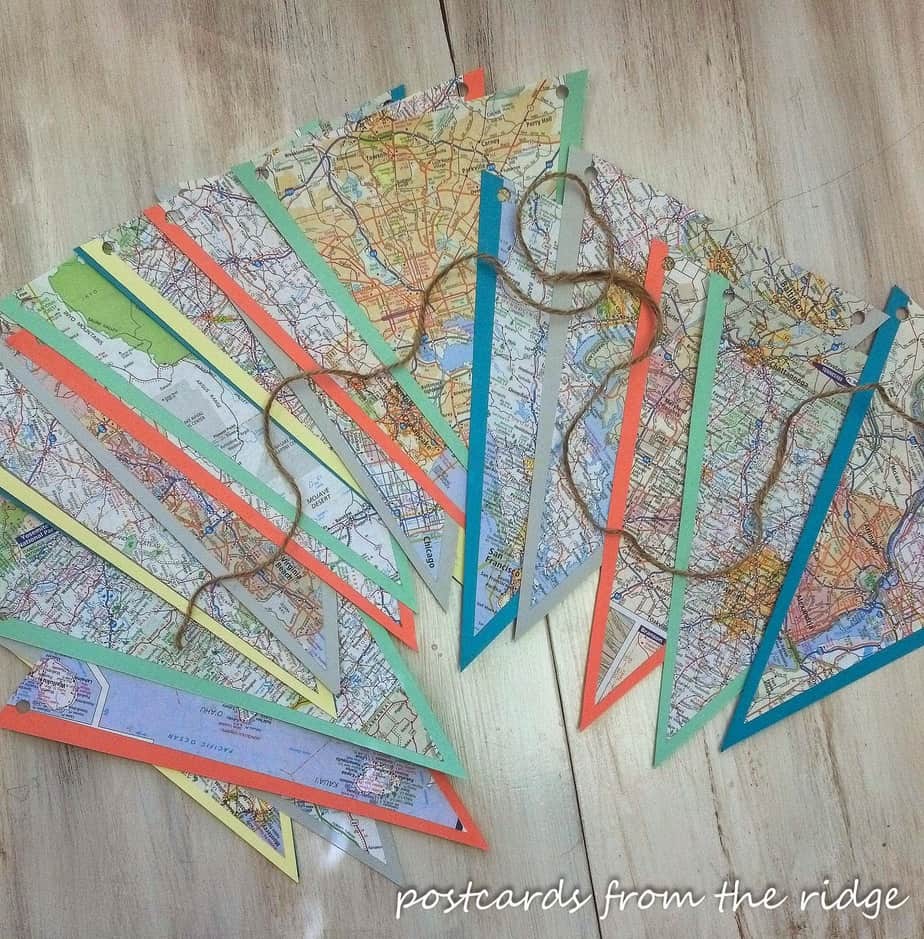
9. Punch holes and then thread your twine through it and you’re done.
Now all that’s left is to hang it up.
As I stated earlier, with this design you could easily add to the bunting after you visit a new place. And it’s a great way to recycle those free maps you get when visiting new places!
And just so you know, my daughter loves it.
Let me know if you’ve got any fun ways to document your travels and maybe that can be a future project for me or my daughter.
Thanks for dropping by.
XOXOX,
Angie
If you’re new here, I’d love for you to follow along and see several other decorating ideas, upcoming projects, favorite paint colors, tips and tutorials, and much more. You can follow here:
Email * Facebook * Hometalk * Pinterest * Twitter * Instagram





I love it Angie! I'm ready for vacation too. Sometimes you just have to take a break. It's a happy/sad occasion when a child graduates from school.
Hey, Kathy! Yes, breaks are definitely needed sometimes. And yes, graduation is both happy and sad, but mostly happy! Have a great week! ~ Angie
As I said on IG this is a fabulous idea!! We frame maps of places we love but this is cooler. I might make one for my son who travels all over the world DJing. Thanks for the idea.